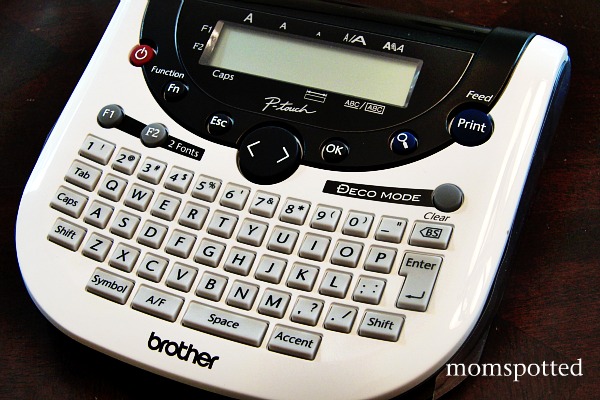
Last month I received the Brother P-Touch Labeler and told you all about it when I gave it the Tough Challenge Test. I was impressed with how it held up to everything I threw at it. I even video taped the challenge so you could see it at the time I was doing it.
Well, this time I had a chance to really play around with the machine, make some labels, and have some fun organizing. I want to tell you that it was all sunshine and rainbows but it wasn’t. This wasn’t something you could just use right away. First off, I thought it came with a plug. It doesn’t. It has a spot where you could insert one but it didn’t come in the package. I had to run out and buy six AAA batteries before I could use it. That’s a lot of batteries.
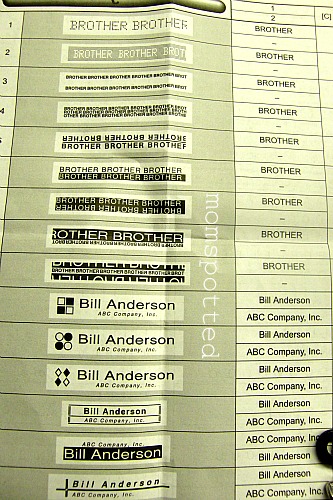
I pulled out all the directions and read them but from the piece of paper over to the actual labeler wasn’t processing for me. You really just have to be willing to sit down and take some time to play around. Within an hour of fooling around with it I was pretty confident. This piece of paper was most helpful to me although figuring out how to do it wasn’t. (FYI, you hit the Deco Mode button and it will be trial and error again).
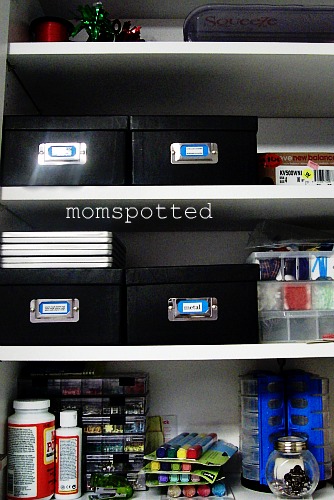
I have so much clutter in my cabinets. I found a bunch of shoe boxes on sale and thought they would be perfect. I came home organized this cabinet and put them up. Problem? They all looked the same and I had to take them all down every time to figure out which one had the things I wanted in them. I liked the idea of using them because at any time I could change its purpose by changing the tag.
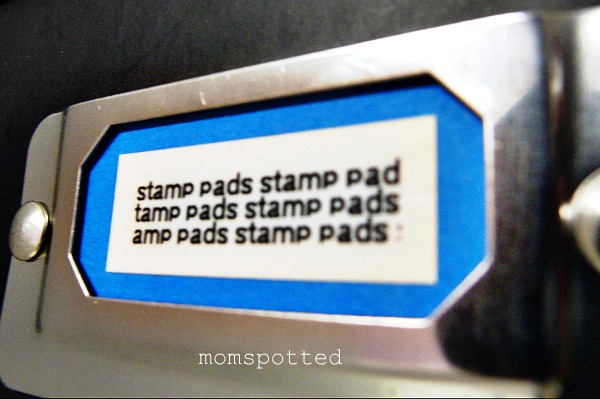
The labeler was fun to use once I was more comfortable using it. I had to be creative since some of the words I wanted in these little spots wouldn’t fit with the regular style. I decided that I’d make them all different styles. This was fun to try and I liked seeing which styles I preferred.
Do you like? This is Deco Mode #4!
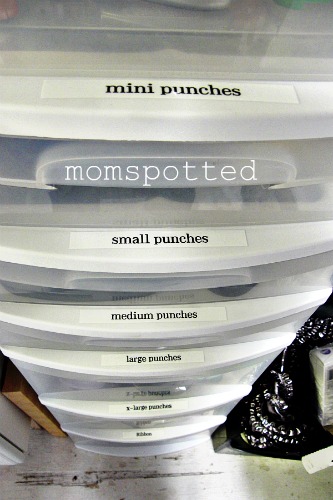
If you are looking for the easiest way to make a label then the next project is for you. You can make these labels within minutes of the first time turning the machine on. They will be larger though as the length of the labels depends on the number of letters your putting in.
I’ve been struggling with where to put my craft paper punches. I’ve put them in my deep drawers but I found I spend a lot of time digging. Large metal punches aren’t exactly fun to dig in. Turns out I own a lot of punches and will be needing to pick up another one of these cool plastic drawer totes.
I’ll be back at the end of this ambassador tour to tell you how these have been holding up. I’m dying to see if the drawer labels stick. I tried putting labels on a similar tote like this in the past with a different label brand and they peeled off in just a week. I have a feeling though that these are going to do just fine!
Now I’m off to work on a labeling project I’ve been working on in my basement!
So, what are you waiting for? The P-touch Labeler by Brother is only $39.99. Sure it took me a bit to figure out but in the end it was fun and convenient. I’m finding it useful all over the house from the bedrooms, bathrooms, and even the basement!




I sure could use on of these to organize my office but I agree six AAA batteries is alot and I wonder how long they would last but I love how it printed out the labels. Great review!
wow this looks amazing!:) my office is a complete mess….