Last week when I made the Heart Shaped Fudge Brownies they were such a success that I couldn’t help but start going through the pages of Wilton’s Brownie Fun book for new ideas.
They have so many ideas and uses for brownies that I don’t know how I’m ever going to go back to working with cake. I love when Wilton puts all their ideas together in their books. Not only is it inspiring but I love that they walk you through the steps so you really feel that you can do it! When I saw this below in the book I was immediately inspired for today’s post.
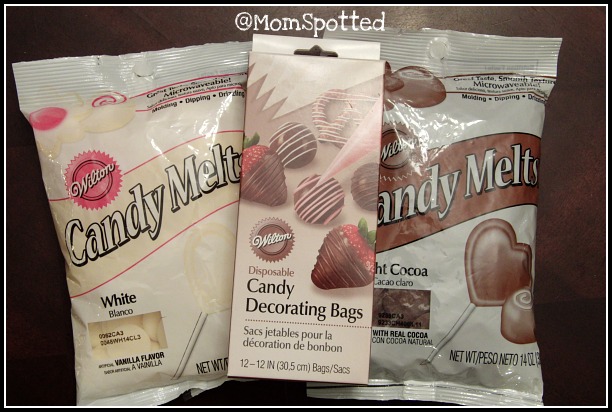
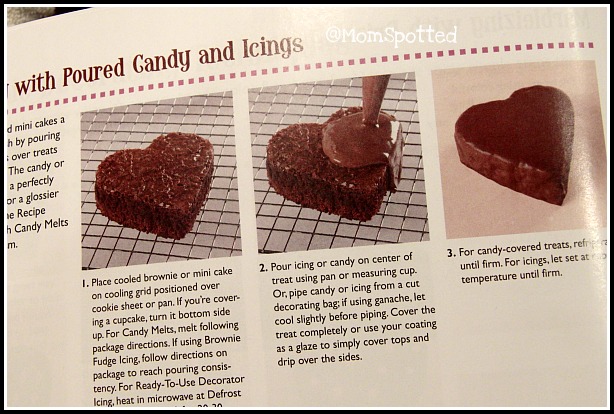 You’ll need some candy melts and some candy decorating bags for this project plus all the stuff we used in the last recipe.
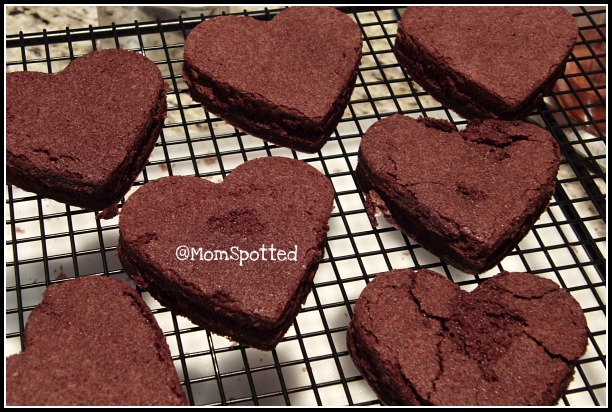
 This time I kept the brownies simple and just made a regular batch in a 9×12 baker. I cut them again with the Push N Pop Brownie & Treat Cutter (which by the way is super addicting) and flipped them all over on a raised cooling rack. I flipped them over because last time the top layer moved around when I tried to decorate them. By taking it out of the equation I knew it would be easier. Notice how some of the brownies are damaged? I accidentally broke them when I flipped them out of the pan on to the cutting board. I didn’t want to waste them so I cut the hearts in it anyway.
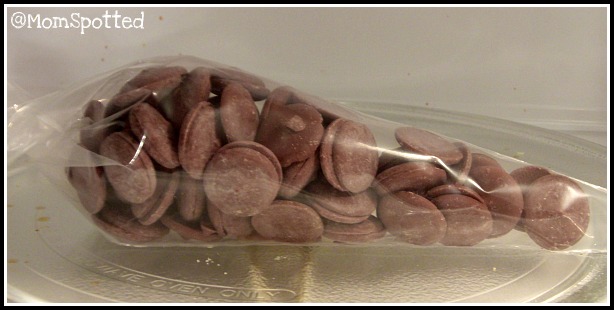
I then added my candy melts to one of the candy decorating bags and put them in the microwave. I set it for one minute at 50% power and checked it (and mushed it around) every 15-20 seconds until melted.
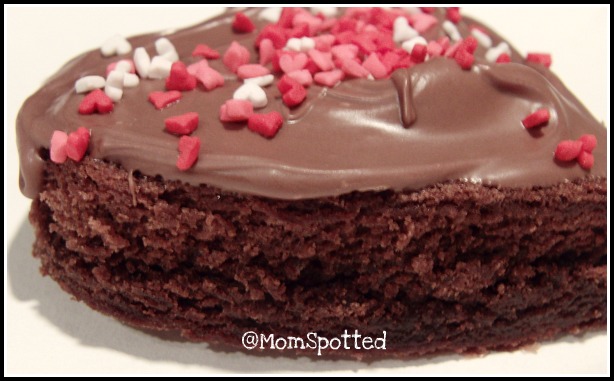
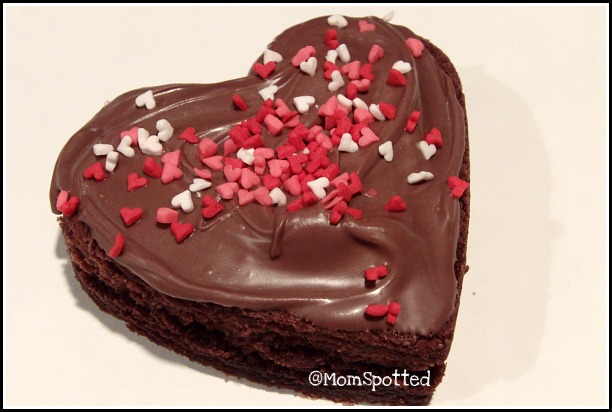
I always take it out before its fluid because I get worried I’ll burn the chocolate so it didn’t flow like it did in the book but I was okay with that. I simply squeezed it on top of the brownie and moved it around with the spatula.
I added some heart shaped sprinkles to each one before it had a chance to harden. Don’t they look good? Hubby was upset to come home and see I had more “junk” food in the house but muttered “good job wilton” as he gobbled one down.
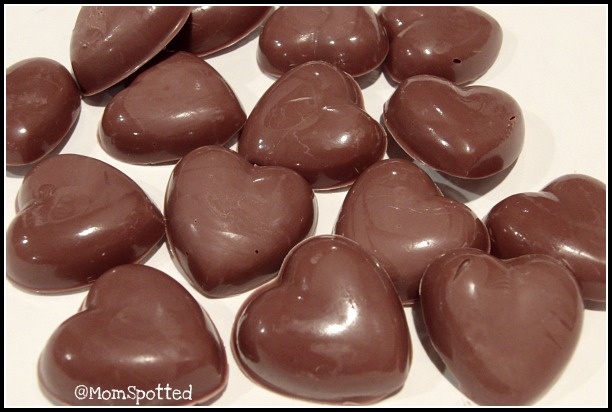
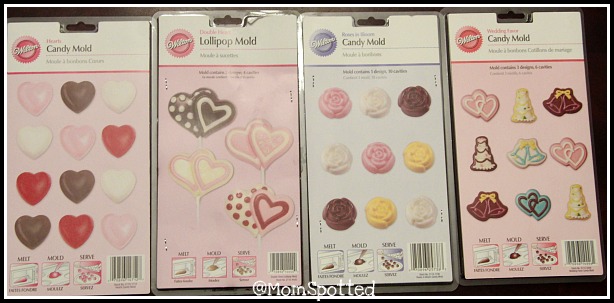
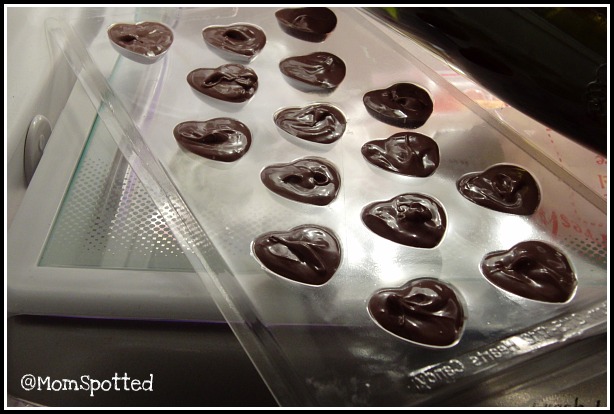
If you filled the bag like I did you’ll still have some melted chocolate left in the bag. I didn’t want to see it go to waste so I grabbed one of my Valentine themed candy molds.
After you’ve washed it with soap and water just squeeze the chocolate into each mold area. Tap it on the counter to make you don’t have any air bubbles. Then place in your fridge for several minutes until hardened.
When it’s hardened simply pop them out and you’ll have perfectly shaped chocolates. Depending on how much chocolate you have left over of if you want to keep going without needing to wash the molds in between.
 Stay tuned for more Valentine’s Day fun!




What cute and delicious looking ideas!
They look so yummy and fun!! I will have to try making these with my kids. Thanks!!
So cute! They don’t look that difficult when you explain how you made them, but turn out so impressive!
You reminded me of how easy it is to make your own chocolates when you use the melts! You inspired me to get out my old molds and make some special chocolates for friends this year…they’ll never know how easy it is. Your brownie hearts are going to be made in my kitchen this weekend!
These look really nice. You did a great job. I want to get creative now.