Valentine’s Day Sensory Slime is the perfect afternoon craft for little hands. Kids love digging in and trying to find the hidden gems!
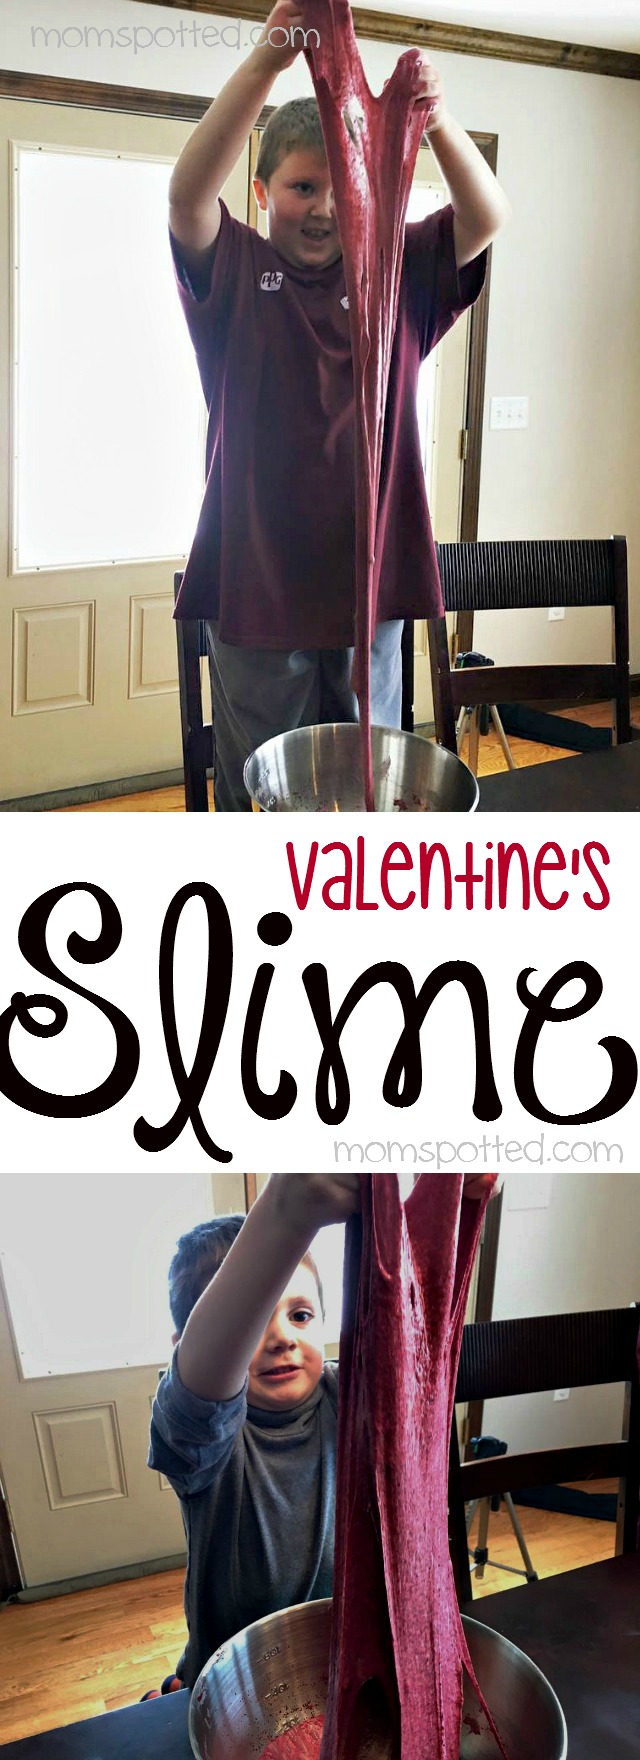
We *finally* got snow here in Western Massachusetts. I say finally because until last week my grass was still green. That’s not that common around here as the past few years have brought on some huge storms. The kids were looking for something fun to do so in the spirit of Valentine’s Day we’d make a fun sensory slime.
Sensory Slime Ingredients Needed:
Bowl One:
- 2 Cups White School Glue
- 1½ Cups Warm Water
- ¼ Cup Red Fine Glitter
- ¼ Cup Red Chunky Glitter
- 30 Drops Red Food Coloring
Bowl (small) Two:
- 1⅓ Cups Warm Water
- ¾ Teaspoon of Borax (also found in laundry/dish cleaning aisle of most stores)
You will also need Red Rhinestone Hearts for the Sensory part of this slime.
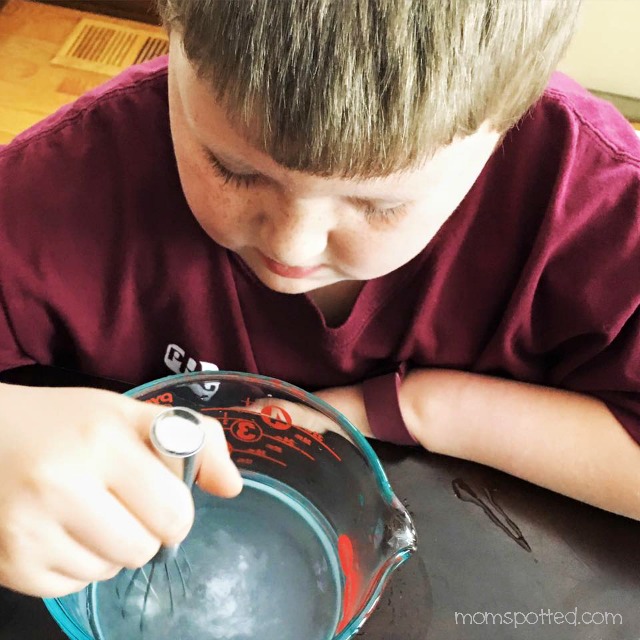
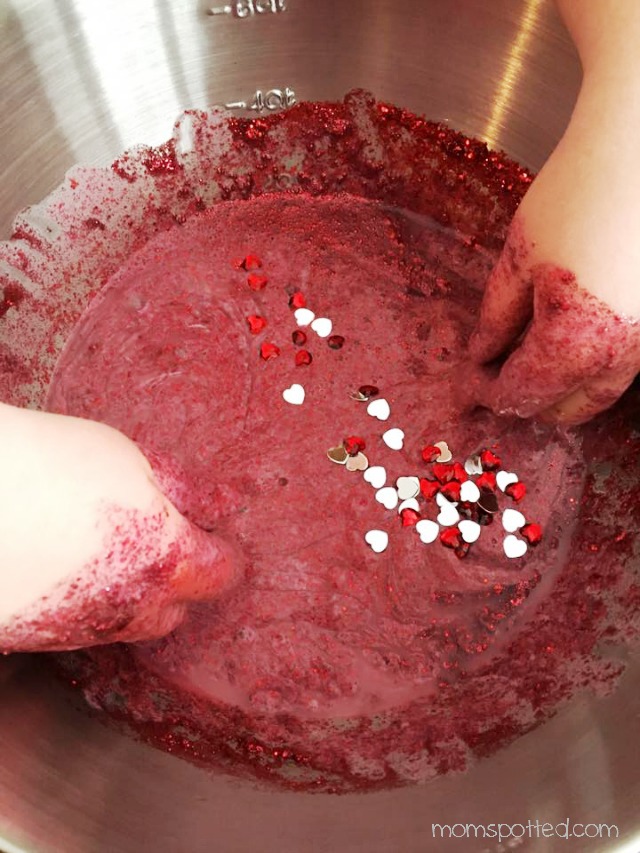
Making slime is pretty easy. Combine all ingredients in their two bowls. We actually used a big measuring cup as our second bowl. You can use gloves to mix the ingredients but we just stick our hands in. As the slime forms, it will de-stick from your hands. If you are making sensory slime, you will want to add the rhinestones in after you’ve combined both bowls and you just start mixing. Count how many hearts you put in.
Once the slime is mixed it’s ready to be used. At room temperature, the slime is most stretchy. My kids have a fun time trying to see how long they can stretch it before it breaks.
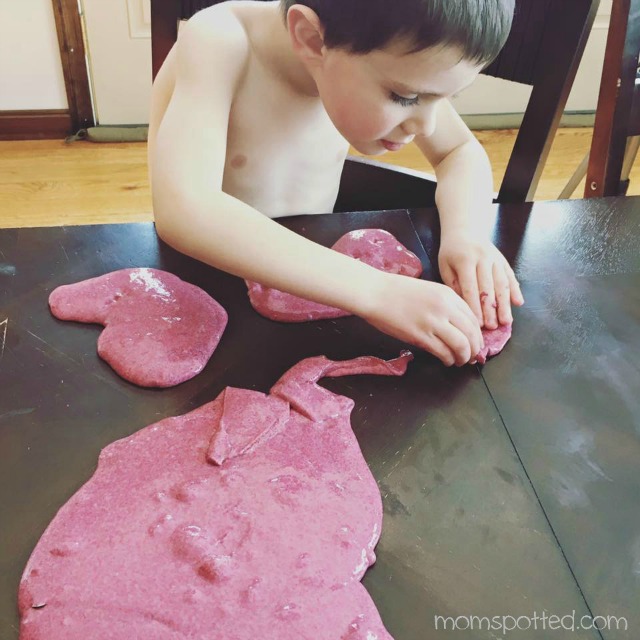
I like to try to make the most of our slime so I thought I would add some fun and turn it into a sensory slime. We added in rhinestone hearts. The slime is great at swallowing them up and making them disappear but if you go in and find them they come out clean.
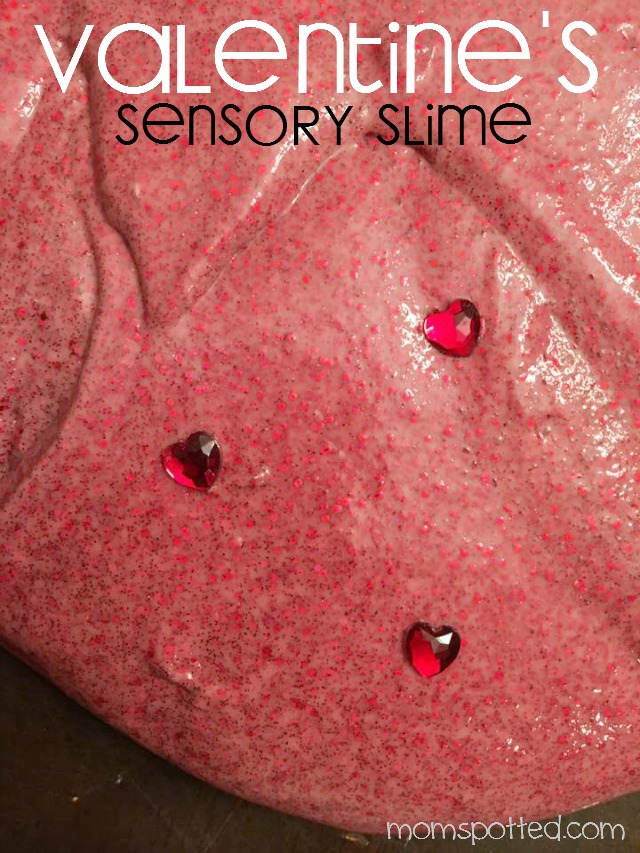
Sawyer can play with the slime for hours at a time. He loves searching for all the little hearts. It has also helped him learn to really stick his fingers in and let them get a little dirty.
PLEASE NOTE: Slime is fun and it likes to stretch. This also means on a flat surface it will stretch out. Be careful near ends of tables as it will fall off the table if not stopped. Slime also *loves* fabric so you might want to remove your child’s shirt or wear a smock. It could possibly ruin the shirt if not treated right away when contact is made.
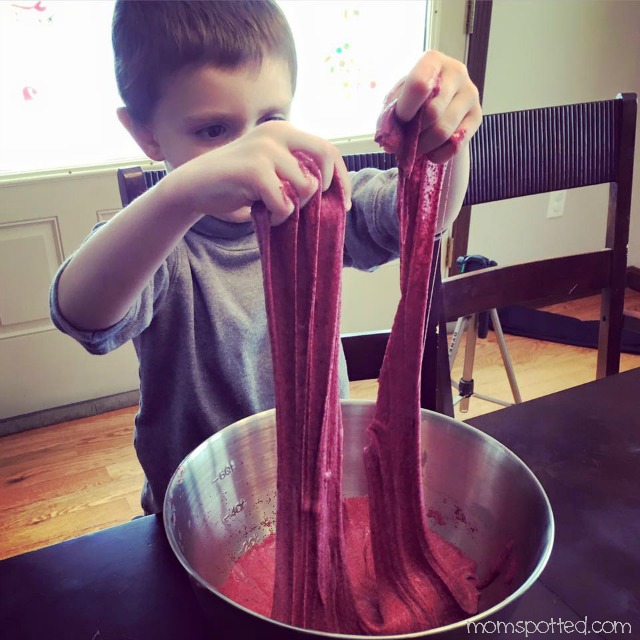
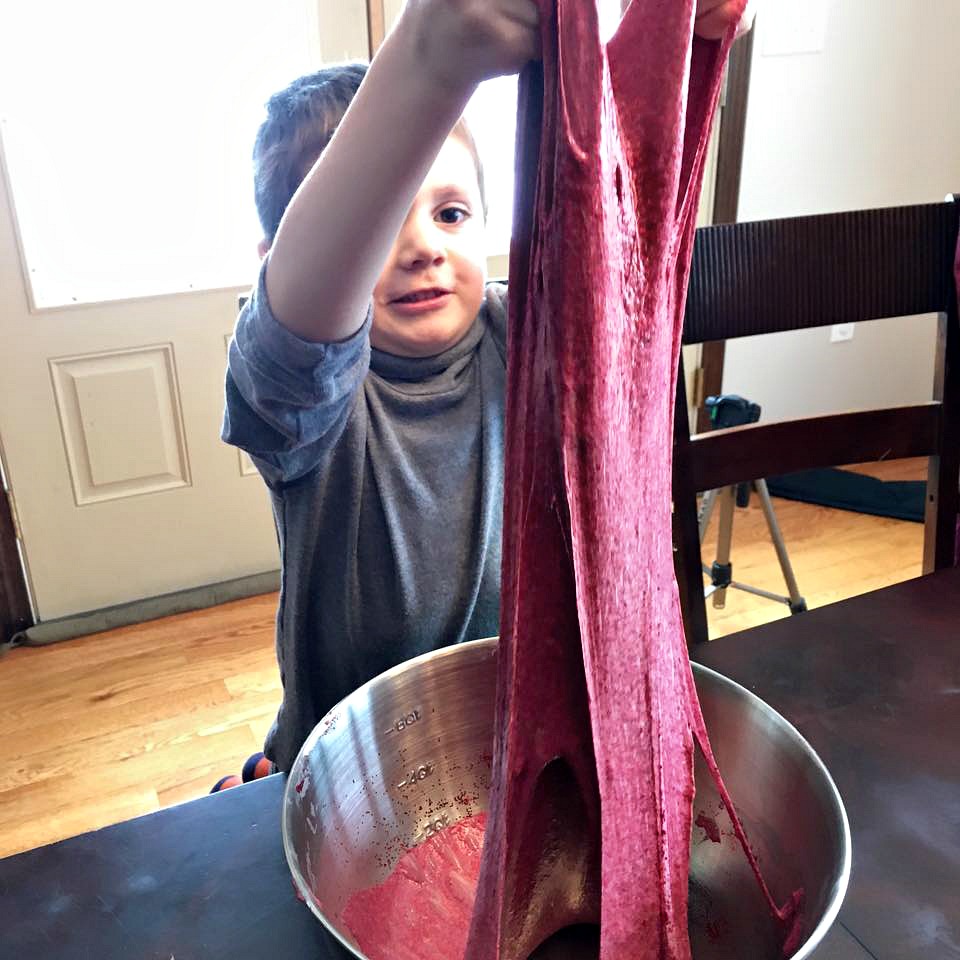
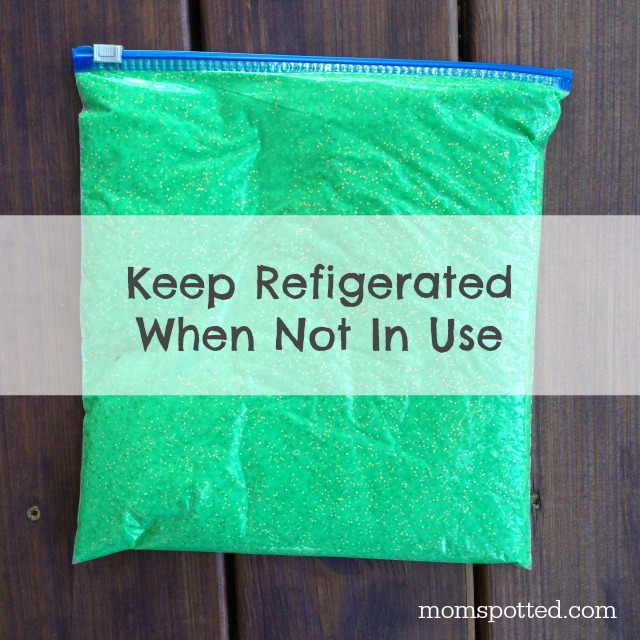
When you aren’t using your slime you can store it in a gallon sized freezer bag. We find the zipper closed bags easiest. Before closing, make sure all the air is out and then let sit on its side until flat. Store in your fridge when not in use. You can play with your slime right out of the fridge but it won’t be stretchy. If you are playing with the sensory slime Sawyer finds it easier to pluck out the little hearts while it’s firm.
For more fun craft ideas make sure to follow our Fun Crafts with Mom Pinterest Board! You can also check out all the other slimes we’ve made here.


you always do fun crafts with your kids,,how hard is it to get off carpet if it gets on it?
This looks like a lot of fun for kids and adults!
My grandchildren will love making this slime. So much fun. Thank you for this great recipe.
Slime is a whole lt of fun. It looks like it is easy to make, and even more fun to play with!