“$.99 paint pint offer valid on Valspar and Clark+Kensington. At participating stores 8/1-8/31. Prices may vary. Limit 4. Color samples must be tinted in unique colors. I was compensated for my time and this blog post. All opinions and positions expressed here are my own and do not necessarily reflect those of Ace Hardware Paint.”

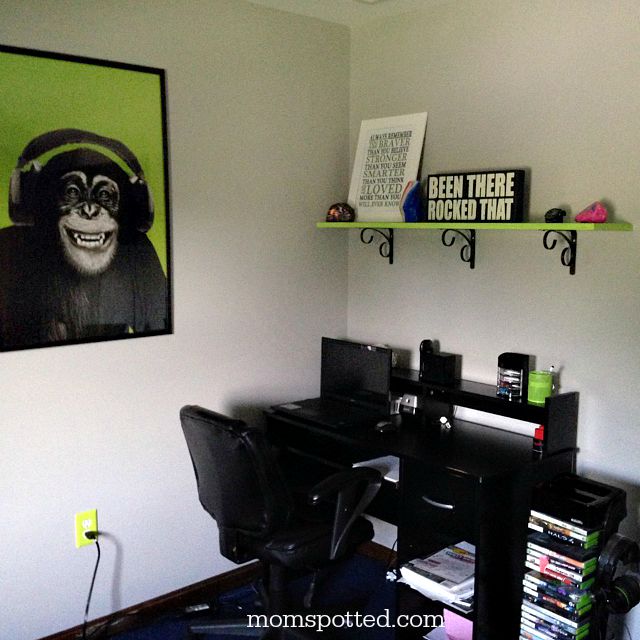
I’m finally starting to attack that dreaded summer to-do list. I’m cleaning out the garage, digging through the closets and trying to do projects in bedrooms while no one is using them. This spring we finally painted my fourteen-year-old son’s room from a child’s sports theme to a more mature grey/black color scheme with navy and lime green touches thrown in.
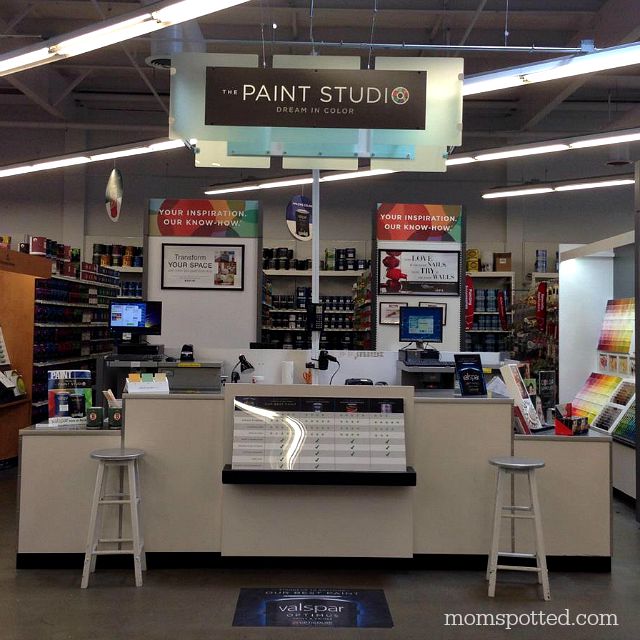
We visited our local Paint Studio at Ace and looked for the color that would best match up with his room. Right now for the month of August both Valspar and Clark+Kensington have their pint size paint can samples for only $.99*! This is a great deal and you can grab up to four of them during your visit! This is a great way to finally test out all your favorite colors to change a room from drab to fab!
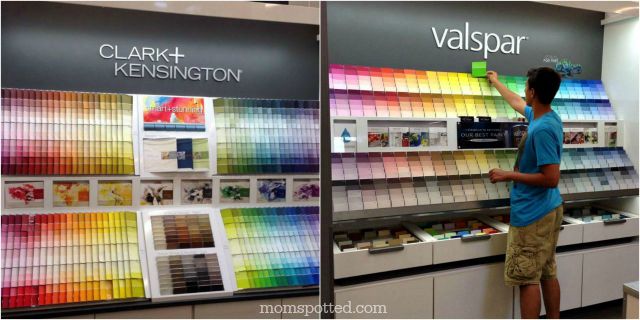
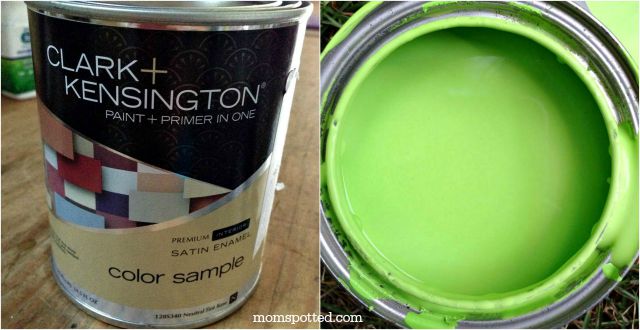
In the end we really liked the color Wasabi Peas from Clark+Kensington. We weren’t sure if the color was bold enough but we figured for $.99 it was worth giving it a try. Lucky for us it was a perfect match!
To build a custom shelf you will need to measure out the exact length of board you’d like. We wanted one that was 4 feet long. We bought a nicer piece of wood so it wouldn’t have texture issues or big hard knots. We wanted it deep enough and strong enough to be able to handle a load of books but pretty enough to just look good too.
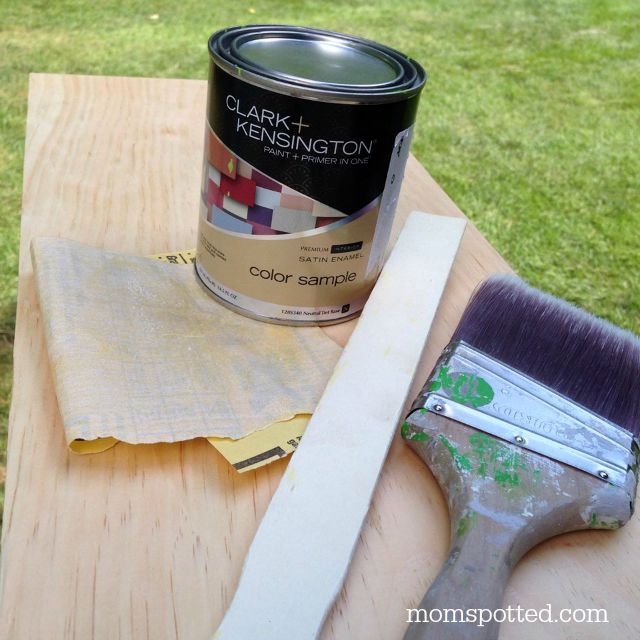
Supplies Needed:
- Wood board – measured to size
- Paint brush
- Paint Stick
- Sandpaper
- Paint
- Wall brackets (2-3)
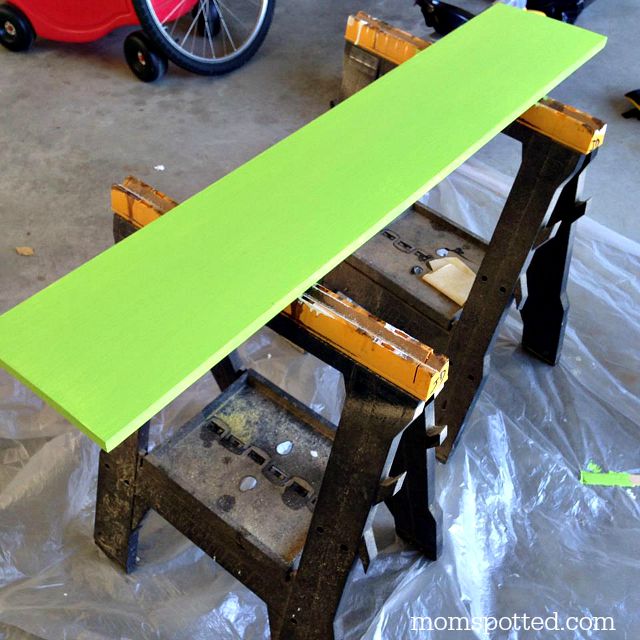
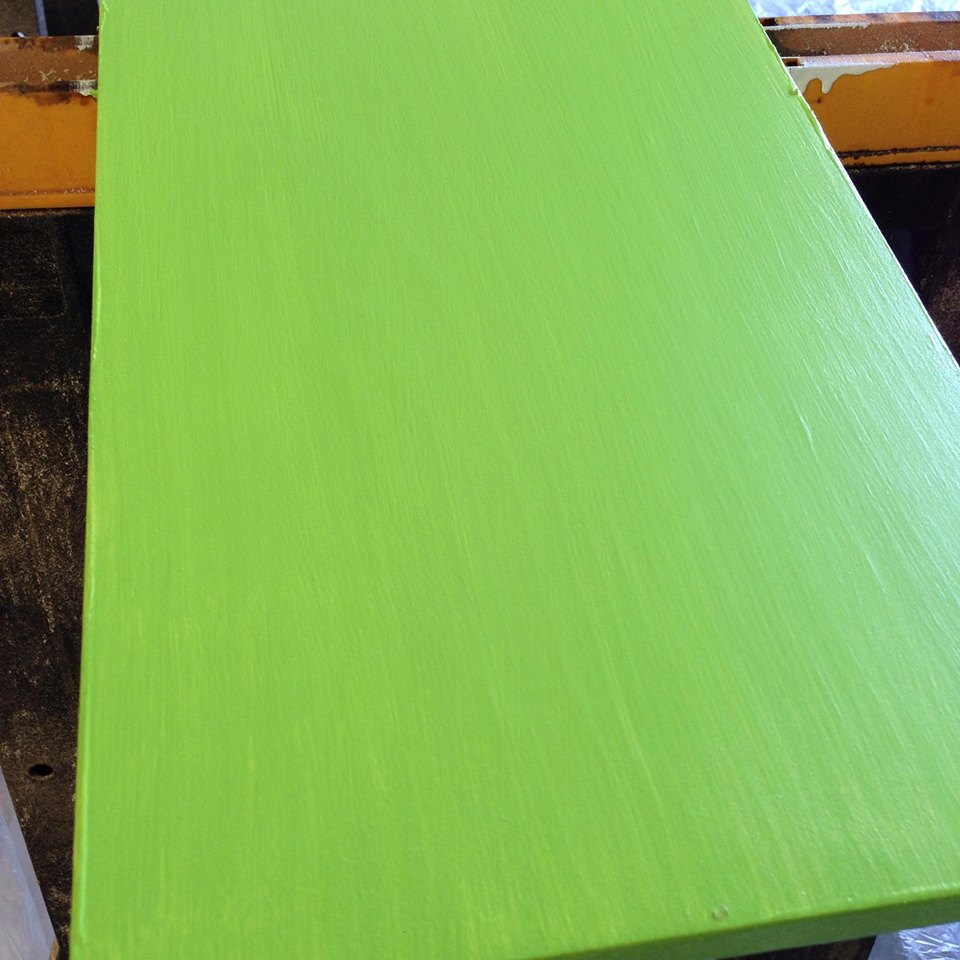
First you’re going to want to start by taking some time to sand down your board. Make sure every edge and surface is soft and smooth when you run your hand along. Then find an area to start painting. We took ours outside on two saw horses in the backyard. If you can, apply two coats. This is a primer + paint so no need to add primer first. Let dry completely. We left ours out over night after each coat. If you have strong humidity like we’re experiencing here you might even want to let it dry an extra night inside to firm up.
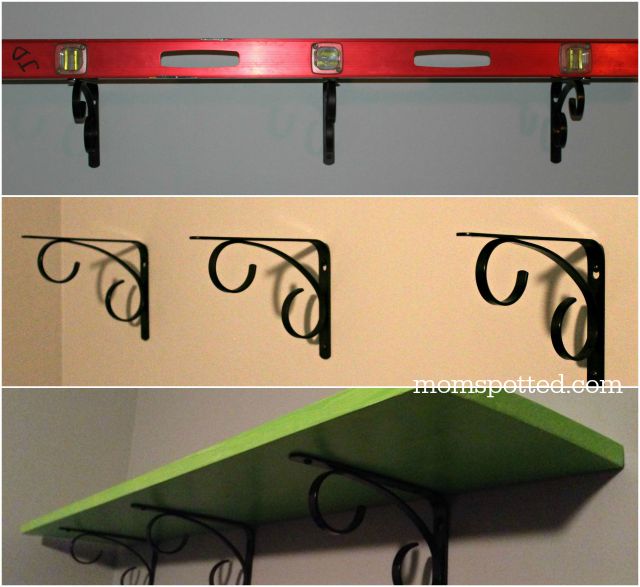
Next you’re going to need to attach your brackets to the wall. Sure you could add them to the board first but if you measure right you’ll have a strong, snug fit this way. We simply found our studs (every 16 inches) and placed a bracket under the board. Doing it this way we needed three brackets total but the shelf can now support a great amount of weight for whatever my son decides he needs it for.
Once you have ensured all your brackets are level add your board. You will need someone to help hold the board down and to the wall while you screw the board to the brackets.
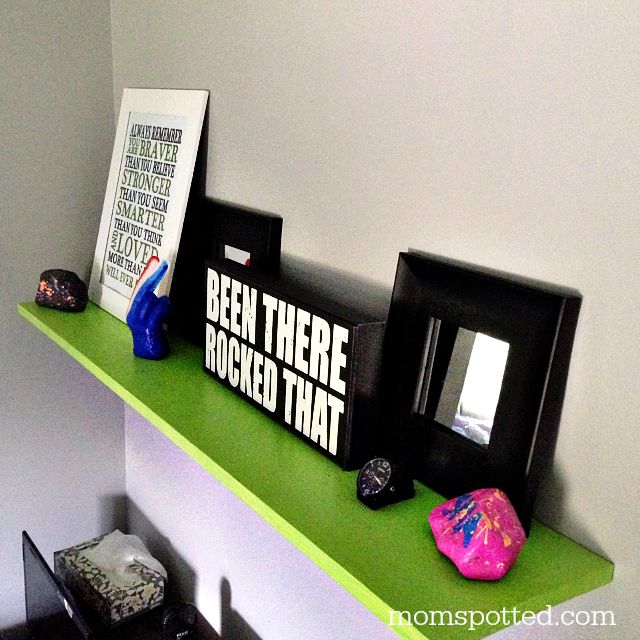
There you have it! An awesome quality wood shelf that looks great in any room. We think it was just what he needed above his desk. As he starts high school this year that shelf will hold a lot homework and a lot of memorabilia.
Getting help at the paint studio at Ace is like going to your neighbor. Visit thepaintstudio.com to find your neighborhood paint studio as well as expert tips and inspiration!


Love those shade of green!
I like how you pulled the color throughout the room and even painted the wall cover!
Looks great 🙂
I LOVE that lime green color. So bright and beautiful. I love how it’s so easy to add such a great pop of color and some storage all at the same time.
The shelf came out awesome. I am totally diggin’ that color you chose! It’s awesome.
Ohmigoodness, that green is lovely! I’m a huge lover of bright greens and I love how it adds such a nice pop of color.
I absolutely love the green paint you got!
Wow what a great pop of color. Love that poster too!
Oh what a a pretty shelf! At 99 cents a pint it;s easy to start thinking of al sorts of fun projects to do this last month of summer 🙂
Love that green! I can’t believe its so affordable
Love the green! The green shelf is a great pop of color for the room!
That looks fantastic! This makes me want to get in there and play with all the colors in my house too.
I’m decorating my apartment this shelf unit is so easy. LOVE! So cool about the paint samples too. I’m for sure checking this out. Thank-you!!
Your shelf turned out great and looks wonderful. You also made it sound so simple to do. I know my grandchildren would love a shelf in their rooms.
you did a awesome job ,,love the color too,,thats a nice wide shelf and thats the kind i love
Nice tutorial! This looks great. I really love the green color.
I love the bright colors! I’d like some teal ones for my bedroom and living room.
I am loving the brackets you chose- very nice and pretty too! Your color is bold almost a neon in the pictures, and thats great too. Being a carpenters wife, this project for me is one I have done a number of times you did a great job.