I was recently shopping in a craft store and saw these cute chalkboard soup cans that were perfect for growing herbs! I knew I could easily recycle some of my own and save myself some pennies for my own soup can herbs. The supplies you need are minimal and I actually didn’t have to buy anything I didn’t already have on hand to make my own.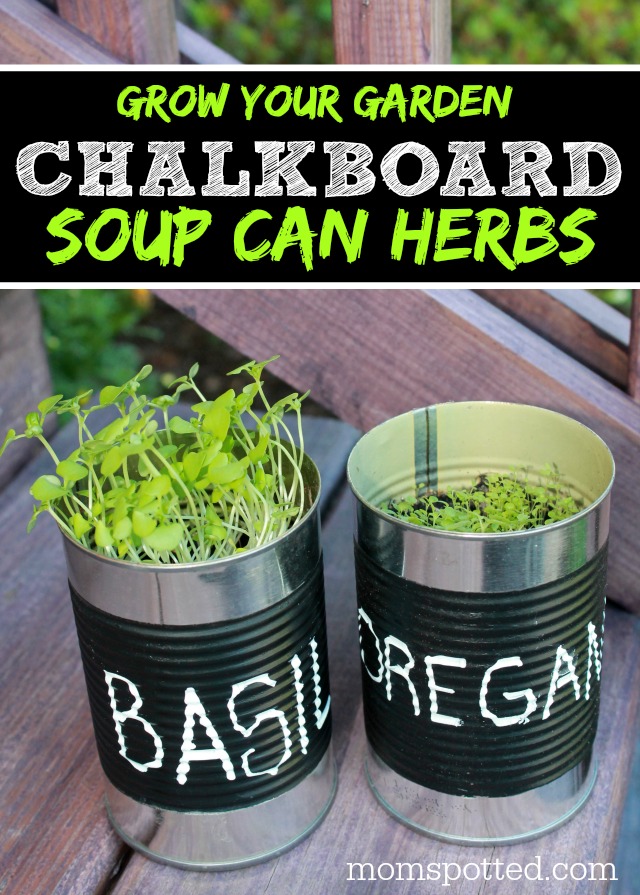
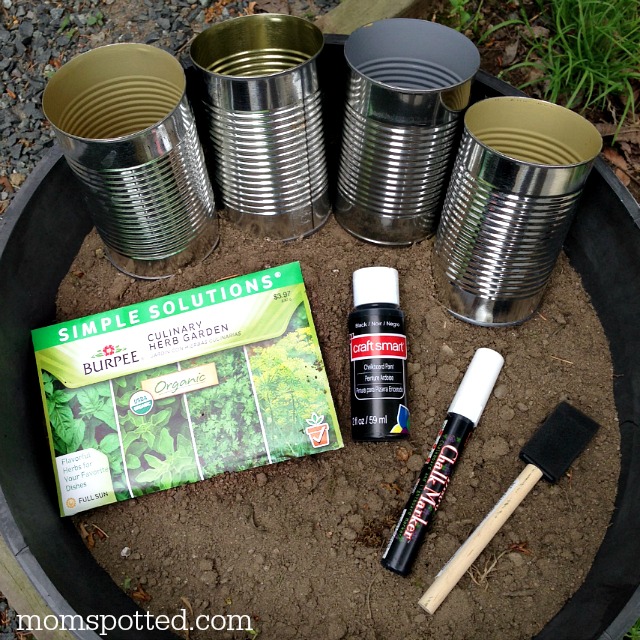
Supplies Needed:
- Soup cans (wrapper removed, washed, and dry)
- garden soil
- herb seeds
- chalkboard paint
- chalk marker
- sponge brush
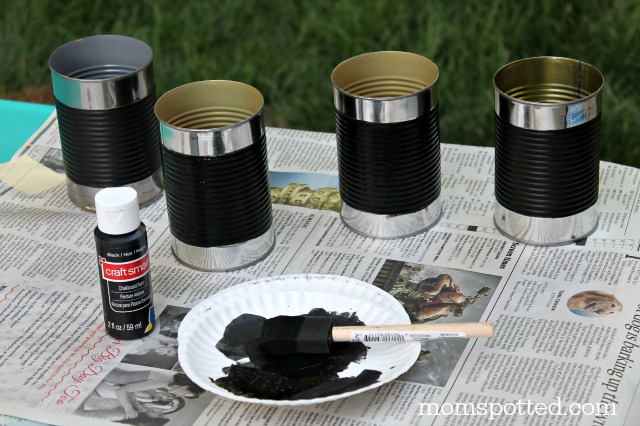
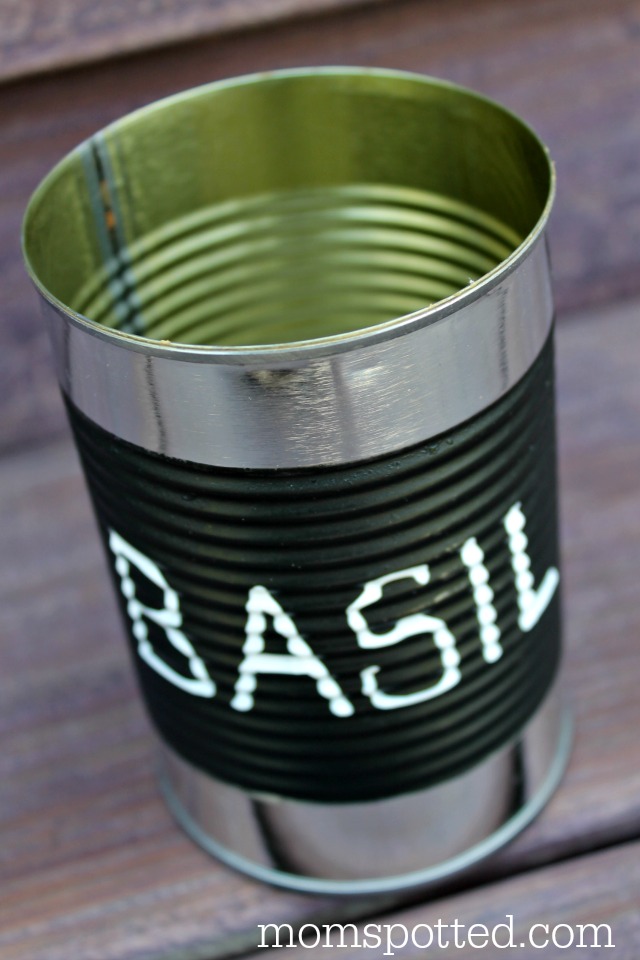
Make sure all the paper is removed from your soup cans and they have been washed & dried well. Then sponge on your chalkboard paint and use the grooves to make sure you are making straight lines. I had to give it several coats but it dried fairly fast. Be careful though; if you don’t let it dry in between coats you will begin to smudge the paint.
Then shake your chalkboard marker and then write the name of each herb you are putting in each can. Let dry, this will take just a minute.
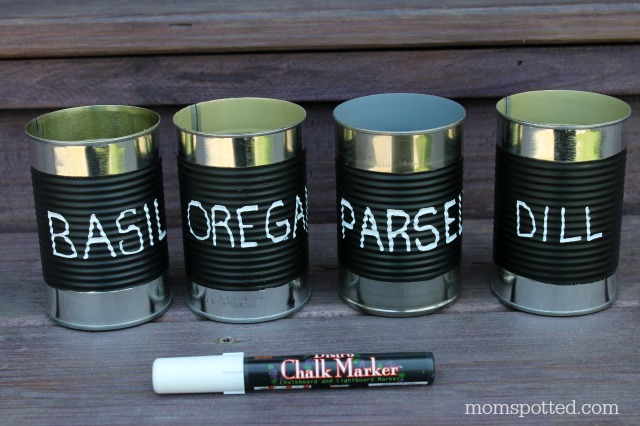
Letters like “S” might need you to go over them since they are all along the grooves.
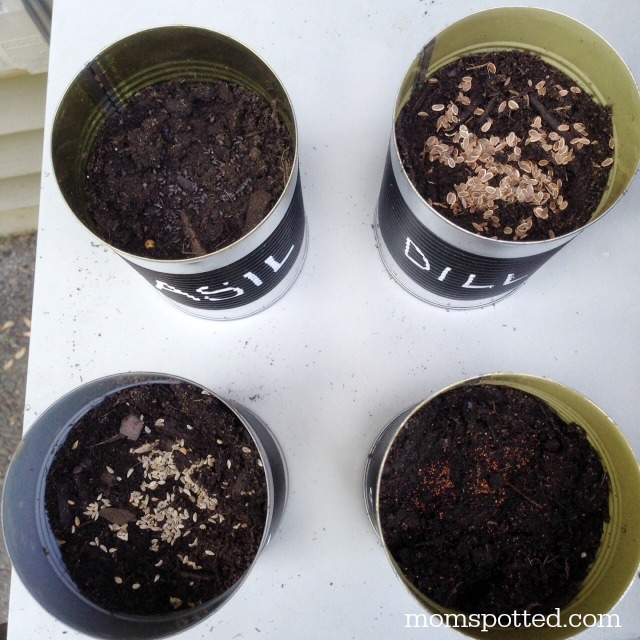
Fill 2/3 with soil and then sprinkle seeds in. Make sure you are placing the proper seed in the right can. Then cover with a light covering of more soil. Just enough to cover the seeds completely. Then lightly water.
Remember there is no drain at the bottom so you will need to water them regularly and not a lot at once.I went away for a few days in the beginning and I lost all my starts and I’ve been struggling to get them started again. I will need to reseed two of them. If you can drill a hole in the bottom (and use a saucer under each of them) they would be easier to care for.
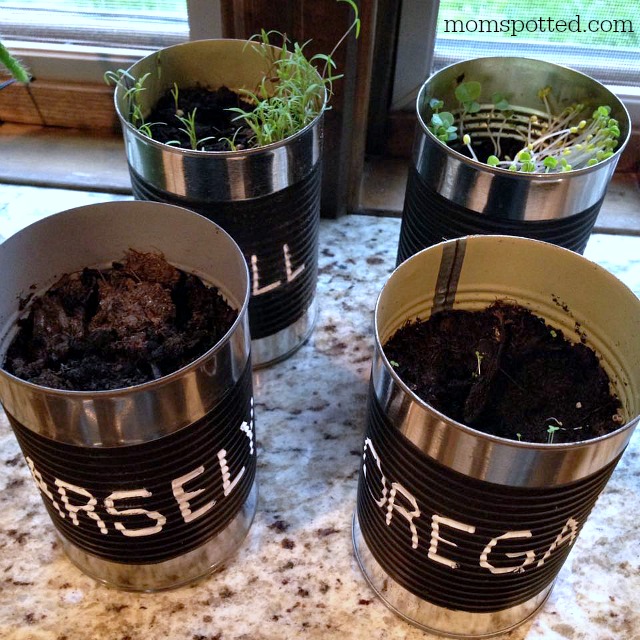
Once I reseeded I got them growing nicely again but I still need to get more seeds for the other two. I’m going to have the boys make these for a gift for grandma too because I know she’d love them!

For more fun craft ideas make sure to follow our Fun Crafts with Mom Pinterest Board!
Follow Jennifer MomSpotted’s board Fun Crafts With Mom on Pinterest.
Every Monday we want you to come and link up your latest craft you made with your kids and share here! Now head on over and check out Being MVP’s Mini Pineapple Pinecone Craft.


These are awesome! I need to get better at growing herbs rather than letting them die off right after purchase 🙁
They are so cute!! As you may know from FB, we’re quite the gardeners around here. Or at least, my husband and daughter are. Scarlet loves growing her own herbs and then smelling them. (but never eating them!)
I love this idea/look! So crafty and would look so good in my kitchen window!
This is such a cute idea and a great way to grow your own herbs when you don’t have much room! I can’t wait to get started on my own!
These are so cool! I’ve been curious about growing my own herbs for a while. I might be able to pull something like this off.
What a cute idea. I love that it would make some fun decor for the kitchen and also be something the kids would love to do.
What a fabulous idea! I think we’re going to have to eat some soup this weekend so we can plant some herbs!
The thing that always puts me off planting seeds, is going to get all the other stuff I need to go with it. This is a fab idea and I’ve always got cans and craft materials to hand!
These are super cute! I keep saying I want a garden, but I don’t have the place to put it, this is a great alternative!
I love this idea! They look so cute and the herbs are all separate and contained
What a great idea. I finally was able to grow basil. I need something like this to keep growing herbs!
I love how simple but cute this is. I’m going to do this with my kids. You could use this for so many things. .
what a fun and cute ideal,,i bet you could use that liquid chalk too
I haven’t grown herbs in years. This project is to easy to do. I’ll have to do this with my grandson. He’d think it was so much fun to watch them grow too. Thanks!
These are such a great idea! I love upcycling projects.
These are really cute and fun! We’ve been wanting to grow fresh herbs.