I think I pick my favorite holidays by how much I enjoy decorating for each one. Christmas of course is my favorite and Halloween is a close second. I’m not a fan of blood or gore but I love the fun side of the scary spooky and try to stick to that. Oriental Trading recently offered to send us some craft supplies for our new craft series and when i was looking at supplies I ran across their “Wiggle Eye Frame” and loved it! I already had half the supplies on hand so I thought I would try to make my own version of the frame.

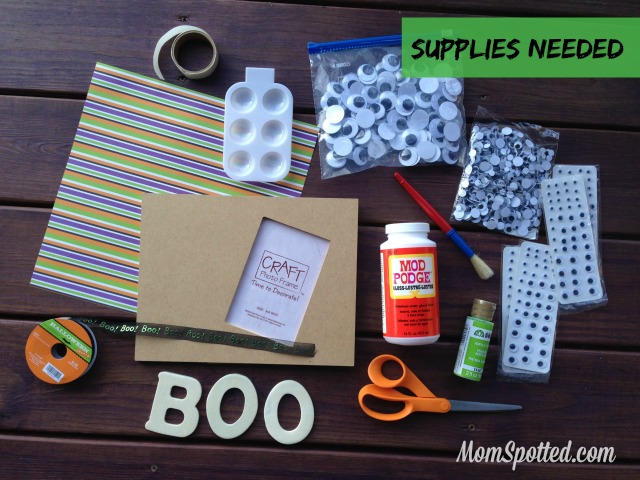
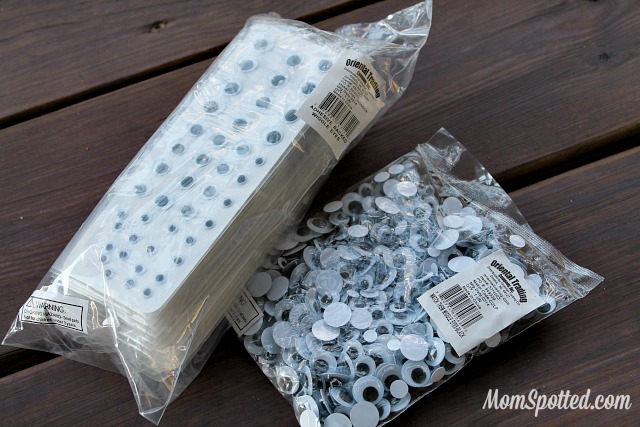
The supplies I used to make this frame are listed below. Many of them are the same as the one on Oriental Trading and if you scroll down on the tutorial there it will link you to all the products on their site. If you are scouring your craft drawers to make mine here’s my list of supplies:
- 1 Piece Halloween Scrapbook Paper
- 1 Wooden Frame
- Mod Podge
- Glue Dots
- Wiggle Eyes (assorted sizes)
- Paint Brush
- Halloween Ribbon
- Wooden Letters
- Scissors
- Lime Green Acrylic Paint
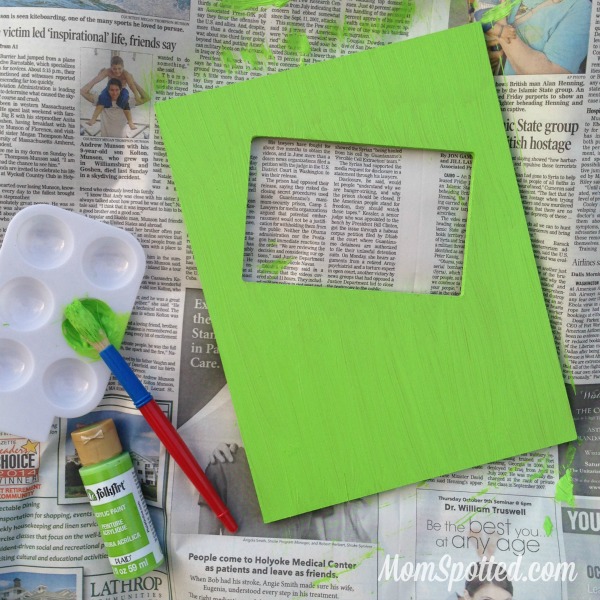
This frame is going to take a few steps due to waiting on things to dry. First things first you will need to paint your frame green.

Make sure to make a smooth layer and get the edges too. Let dry completely.
While you’re waiting on your frame you can also begin making your letters. You’ll need the following supplies for them:

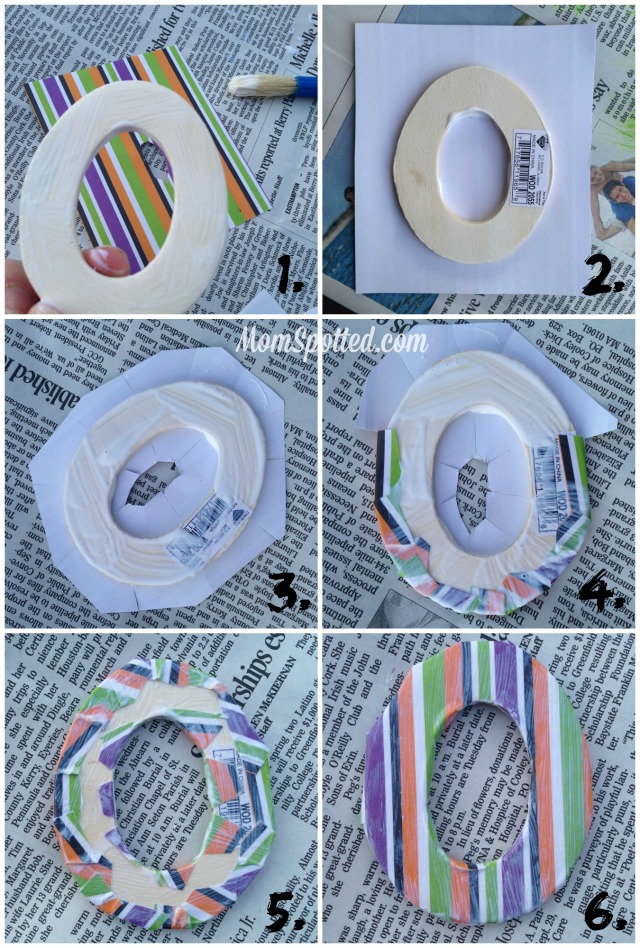
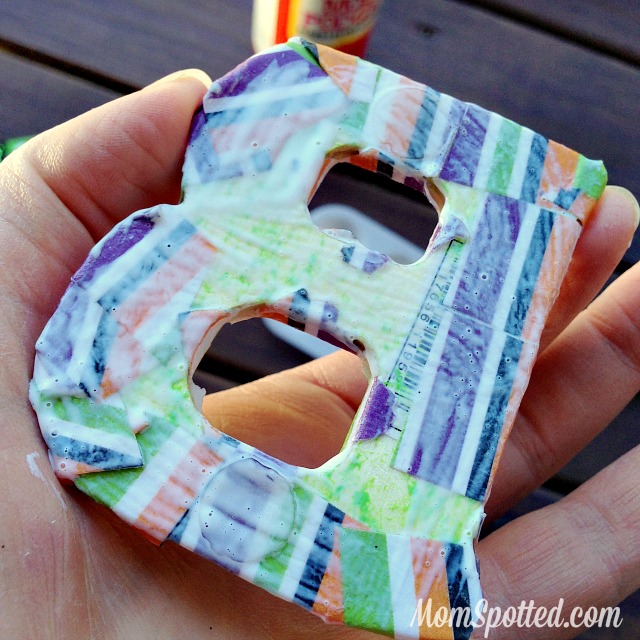
Lay your wooden piece over the paper and cut out a piece bigger than your letter. Next, place a good layer of mod podge on letter and place down on back side of paper. Make sure that when you place it down you are making it so when you flip it over the letter is facing the right direction. Let dry.
Then trim your paper slightly then cut slits all the way around. Place a good layer of mod podge on back and begin folding the paper over. Remember that mod podge is your friend and use as much as you need. It WILL dry clear. If you have a section that is being difficult make sure it has a good amount of it on your brush and get it in all the folds. Use your finger to hold it down for a few seconds and when you release the paper should stay where you wanted it to stay. Let dry. I then went over the entire letter with a final coat of mod podge just to make sure they had even brush strokes. While it will dry clear, if you use a good amount the texture will show still when dry.
Once your frame is dry you can move to the next step. The eyeballs.
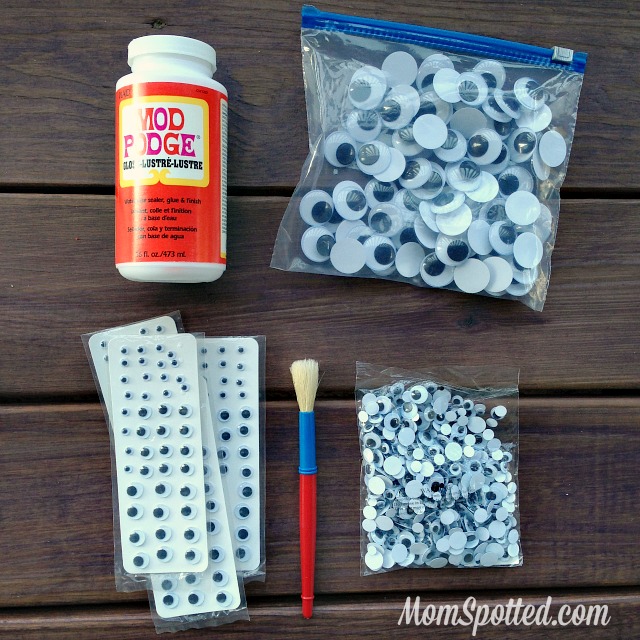
I got all my wiggle eyes from Oriental Trading. I loved all the different styles and sizes they offered. I also liked that I was able to order them in large quantities, cheap. I also stocked up on paint brushes with them too. Even though they are washable my kids like to really smash them and just be rough on them in general. I really like these because the thick handle is easy to hold onto and I can still get a couple uses out of each brush when washed properly as long as the kids didn’t kill the bristles.
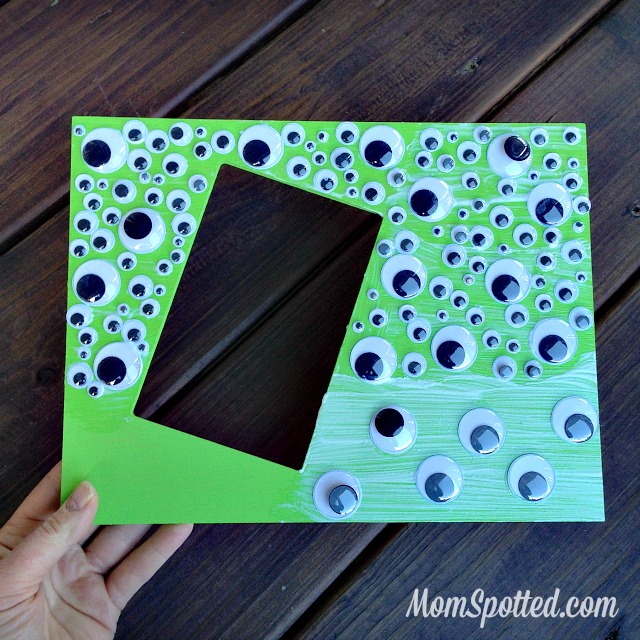
When you start the frame work in small sections. Lay a thick layer of mod podge over the paint. Make sure to keep the brush strokes going the same way. Again, while the mod modge dries clear you will still see the texture from the brush. Then begin placing the eyeballs into the wet mod podge. Start with the biggest eyeballs first and work your way down to the smallest ones. They don’t need to cover every single surface spot.
Let everything completely dry again. Then bring all your final pieces together.
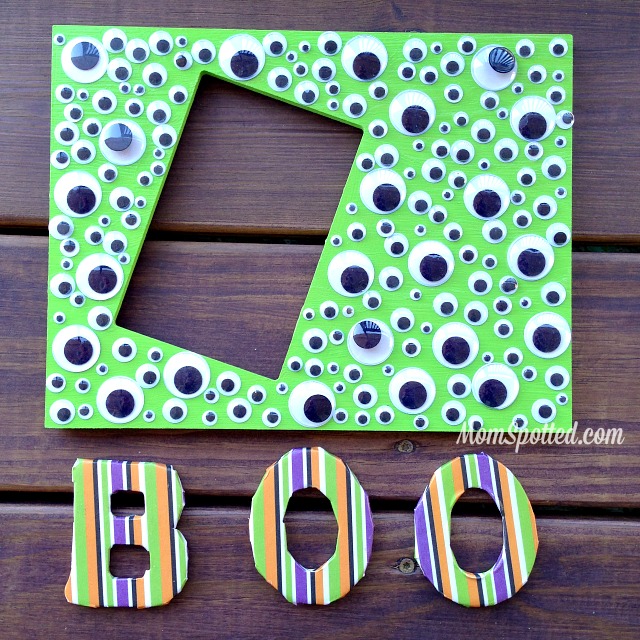
Grab your ribbon and use a glue dot to adhere the end to the frame. Wrap it around the frame several times and use another glue dot to secure the ribbon the other pieces of ribbon.
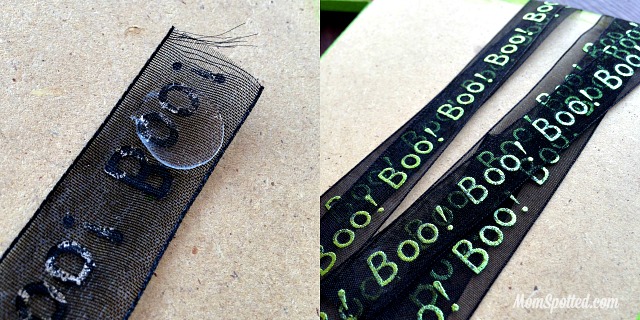

Then coat the back of each letter with mod podge and then place on top of the ribbon. Make sure if your letters are bigger than the frame like mine you don’t start too low down. You want your frame to be able to stand still when you’re done. Let dry.
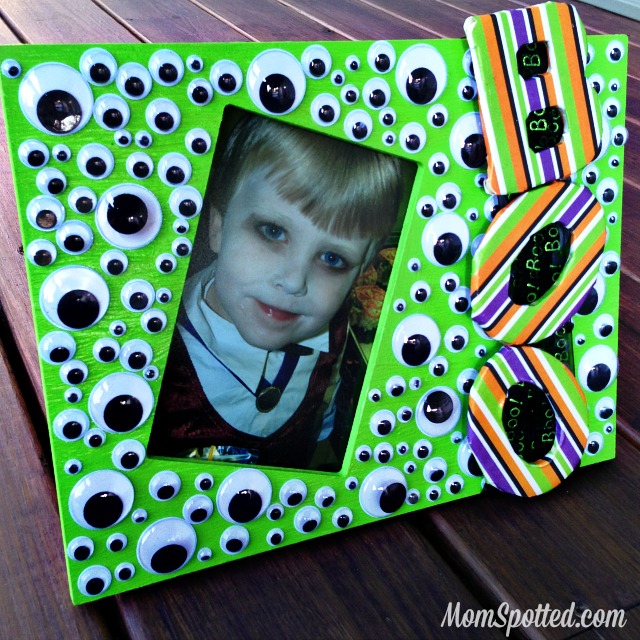
Once its dry place in your favorite Halloween photo and you’re done! A bit on the time-consuming side but overall it was fairly easy and I just LOVE how it turned out!
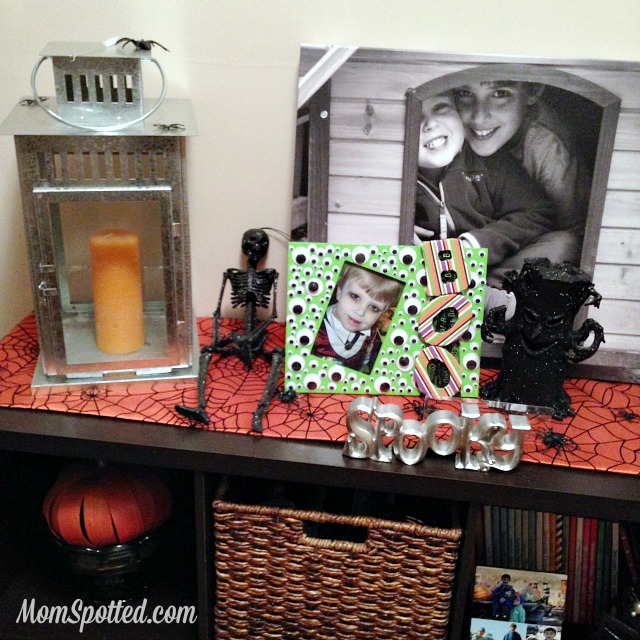
It looks great with all my other Halloween decor! I can’t wait to take a more recent photo this season and place it in the frame.
Make sure to visit Oriental Trading for more fun craft ideas for kids and all the supplies you’ll need to make them!
Every Monday we want you to come and link up your latest craft you made with your kids and share here! Now head on over and check out Being MVP’s awesome DIY Frozen Elsa Magic Wands.
This preview will disappear when the widget is displayed on your site.
If this widget does not appear, click here to display it.


This is a very cute picture frame — my granddaughter is very crafty and would love to make this.
This Halloween frame is just so cute! I love the colors you used — very festive!
What a super cute idea! These would go great on the mantel.
What a cute frame and the perfect Halloween craft that you can then put a picture of them in their costumes in.
LOVE this idea! You could also use it for a Monsters Inc. inspired birthday party 🙂 Pinned it!
I love this! It’s so bright and colorful!
That looks terrific! And it sounds pretty simple to make too!
I thought it was going to be complicated, but it’s not. It’s quite easy! Great craft, J!
I have a picture of Chandler holding Frankenstein’s hand from Universal Studios. It would be perfect in a frame like this. I love how it turned out and it fits in nicely with the rest of your decor!
This is too cute, I’m going to see if I can try it.
Man that is so creative!! I can’t ever think up stuff like that. So cool! I have never used Modge Podge… I am missing out lol
Adorable craft ideas! Love how you used all those googly eyes!
That is really cute! I love the eyeballs!!
What a super cute idea! I know a 7 year old who would have a lot of fun making a frame like this 😉
I’ve said it before and I’ll say it again, you are so creative. I love this idea. I need to go look at Oriental Trading. Love the googly eyes.
I bet my kids would love this!
This I will have to do with my nanny kids!
Some of these crafts really amaze me, especially this one. I will have to do this craft with my grandson.
I love this! Lots of cute fun!