
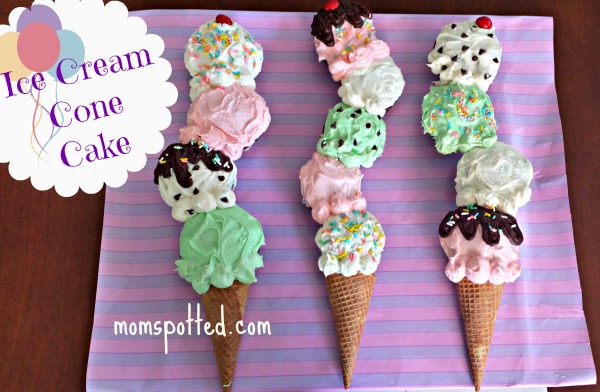
March was a crazy month for my family. My husband started a new job, we sold our house, had a huge move, it was my husbands birthday, and then Halli’s first birthday! I felt so guilty trying to plan her birthday party with all the chaos going on. I wanted to have a “pinterest worthy” party. Darn you pinterest! It can be so inspiring, but also super depressing. I quickly checked myself back into reality and realized it wasn’t realistic to give her a huge first birthday with grand tablescapes or photo booths, but I could still make fun memories for our family. I hopped back on pinterest with a new perspective, and decided we would have a ice cream themed party. I found THIS pin and knew it was meant to be. It was the colors I was planning to use, I could easily recreate it, and it was the perfect amount of cake for our small party.
Her birthday was so busy and such a fun day I didn’t take pictures of the step by step process like a good blogger should. But it is so embarrassingly easy to put this cake together hopefully my lack of pictures won’t matter.
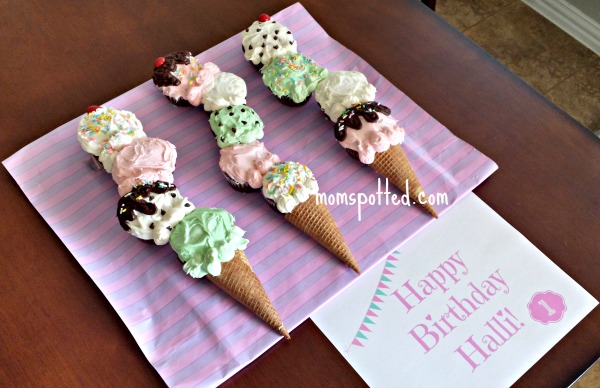
1. I used a regular old cake mix and followed the cupcake baking instructions. {**TIP**} When I assemble my kid’s birthday cakes I like to wrap my serving tray with wrapping paper. I think it makes it more festive and is cuter than my scratched up metal baking tray.
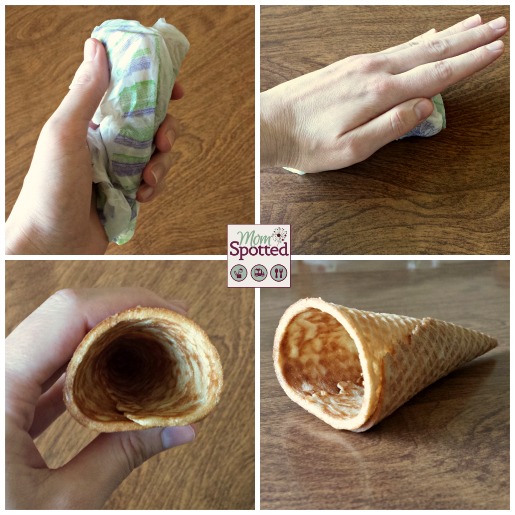
2. For the sugar cone bottom of the cake I tried cutting off one side of the cone to help it lay flat on the tray. Do NOT do this! No matter how careful you are or how sharp your knife is your cone will break into a gazillion pieces and you will want to curse out of frustration under your breath…. Just sayin’. I’m a perfectionist and still wanted that darn cone to lay flat! I had a epiphany and remembered when I made THESE cornucopias last thanksgiving. I used the same process to flatten out one side. Wrap your cone in a damp paper towel, place it in the microwave for 10 seconds. Then carefully roll it on the counter flattening out the bottom while molding the top to stay round. You have to work quickly because it will cool off fast.
3. I went the quick easy route and used store bought frosting. I used 2 vanilla frosting and 1 chocolate fudge frosting containers. I tinted my frosting with gel food coloring. {**TIP**} Y’all… if you still use the liquid food coloring put it down and step away slowly. Gel food coloring will give you more vibrant colors while using less coloring, and it will keep the texture of your frosting instead of making it runnier. You can find gel food coloring in basic colors in the baking aisle of your grocery store, it comes in little tubes. Or you can find it in your craft store and it is in jars with lots of great colors.
4. Now it is time to assemble. I frosted each cupcake with whatever color or flavor I wanted to make it. Then used a dab of frosting on the bottom of my cones and also the cupcakes to “glue” them to my tray. After all my cupcakes were frosted I filled gallon size bags with my left over frosting. I cut a small corner off, then made swirls and circles where each cupcake met another one. Using a gallon size bag instead of my pastry/frosting bags was quick and made for easy clean up.

5. Then I decorated my “scoops of ice cream.” I used sprinkles, mini chocolate chips, the fudge frosting for hot fudge, and peanut M&M’s for the cherries on top. Fun fact about those stinkin’ M&M “cherries.” I bought 1 bag of the king size M&M’s, and there were only 2 red M&M’s in the entire bag!!! Again me being the perfectionist I am sent my sweet husband to the gas station a few minutes from our house to get another bag. In the second bag there was only ONE.RED.M&M.!!! Of all the luck…. so do yourself a favor and buy 2 bags of M&M’s because apparently they don’t make many red ones.
I LOVED this cake! I always make my kid’s birthday cakes, and this is probably one of my favorite’s so far. It is so so cute, it is crazy easy to make, it is easy to serve, and it made the perfect ready to go smash cake for my new darling one year old.
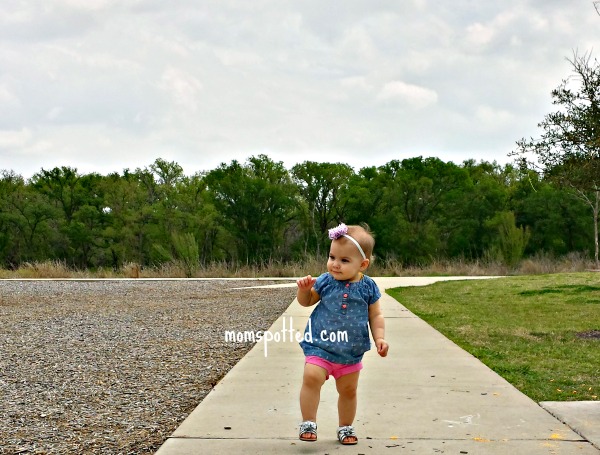
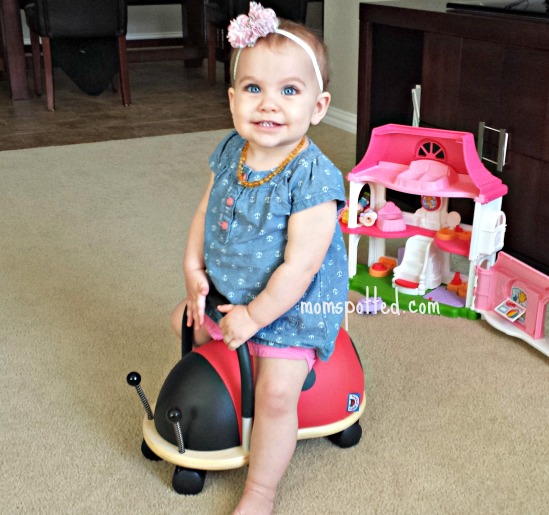
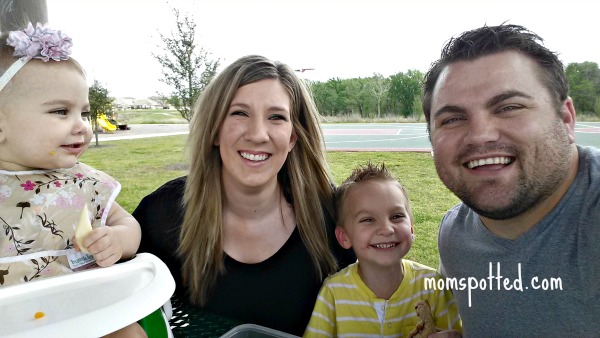
I think Halli had a really fun day and it was a great day for my family to celebrate her. We went and had lunch at the park, played on the swings, went for a walk, she took great naps, we ate her favorite dinner(lasagna, peas, and pears), opened presents, and then had cake. For us it was the perfect day and birthday party. I will always look back on it with such fond memories. I am so blessed to have the cute little family that I do.
Let me know if you try out this cake! I think it is so easy to personalize and could work for all sorts of fun parties. The combinations to decorate it are endless. Happy baking!


This is the cutest and most unique birthday cake that I have ever seen!
Thanks Megan. I’m going to try this next week for Mimi’s bday.
I love this cake, I might just make it for a birthday cake this summer.
I love this too,my granddaughter has a 2nd birthday coming up,,may try to make this for her