I’ve been seeing all kinds of posts popping up all over about making your own crayons and while it is super easy and doesn’t require much some people really assume it’s so simple that you don’t need directions. I pinned this project multiple times from multiple people and do you know I had to google for actual temps and times?!? So when we made our Christmas shaped crayons we documented what worked best for us.
Here is our start to finish.
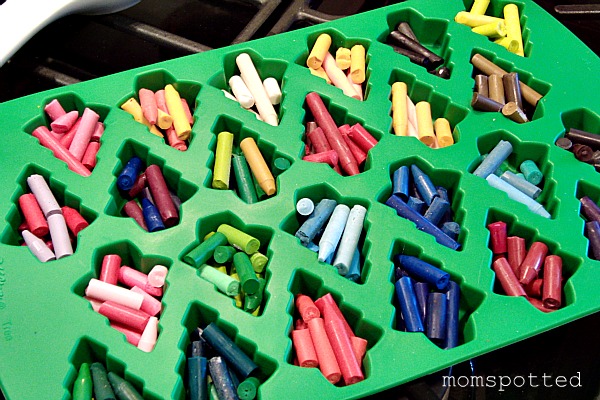
First have your child peel and break all their crayons. I bought crayons just to do this since we really don’t have any old broken ones (crazy, right?) I bought generic crayons and I don’t know of that makes a difference but I figured I should state it. When I first told Gavin what we were doing he was excited. He’s my artist and we go through a box of crayons all the time. He peeled three crayons and started to cry. Told me I was the meanest mom ever. Clearly this was not his day. The next day he asked to finish and did it no problem. I knew he had it in him to do this ALL on his own. Of course his favorite part was breaking the crayons.
He placed the crayons into the Bite-Size Tree Mold from Wilton. Try to mix your crayons up a little. Since he was doing this on his own I didn’t make any changes and the ones with different colors together were the ones he was loving the most after.
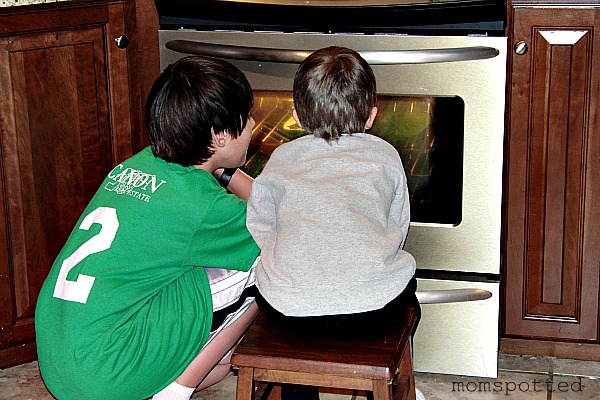
Place on cookie sheet and bake for 15 minutes at 275 degrees. The boys sat there the entire time and watched them.
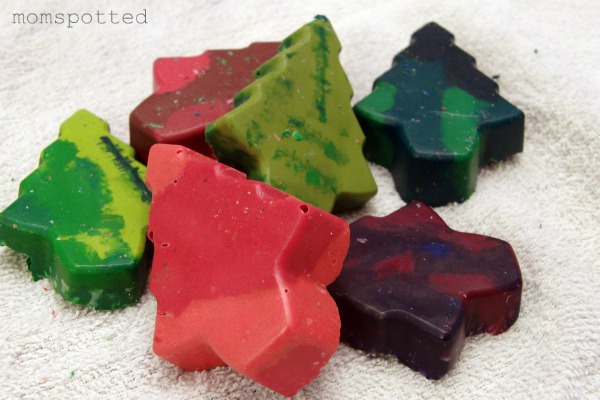
When the come out they’ll look like this. The Christmas shaped crayons will settle a bit so let them be for about an hour and fully cool.
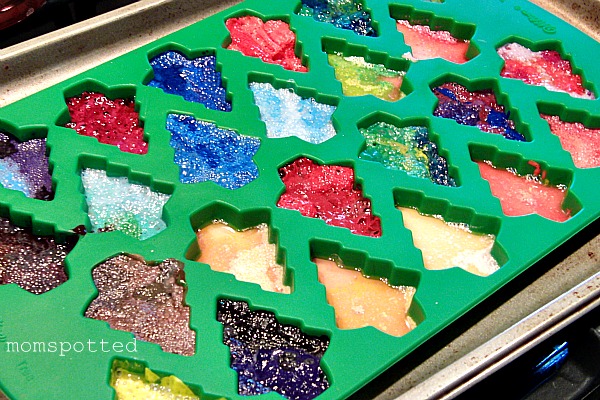
You’ll just have to peel the silicone mold to remove them. No spray or anything needed. As you can see the crayons DID stain the mold so I’m not thinking this is food safe any longer. We’ll find plenty of other art projects though we can use this on next year.
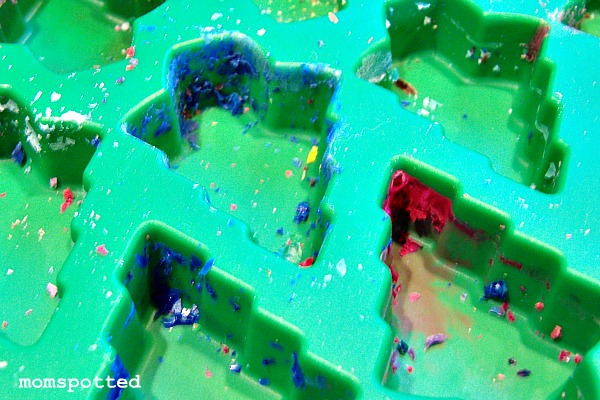
As you can see we ended up with Christmas shaped crayons. Gavin loves them and thinks they are the coolest thing ever. He shows them to everyone and even had to bring them to school for show & tell.
So what are you waiting for? Go make some crayons!!!
Mom Spotted Review Policy: As a Wilton Mom Ambassador I was supplied the Bite-Size Tree Mold at no cost, but was not required to post or rate it. My thoughts and experiences are completely my own.




Looks great! I bought a mold like this to do bath fizzies lately and the fragrance made the mold completely non-food safe. I’m going to try it for crayons! Fun 🙂
They look awesome! Great idea for all the holidays!
I made some earlier this year I think. I made them using my cupcake tin. I like your tree idea.
This is amazing. Cannot wait to try this out. Thanks!
Love this idea and absolutely love silicone molds – they are fabulous for just about anything, especially making caramels! No need to worry about aluminum foil sticking to the caramels 🙂
I just threw away a bunch of crayons but I have seen neat shaped crayons sold on etsy and wondered how you did it. Now I know and will keep ALL broken crayons to save to melt. Does it have to be in a mold like this or can I use regular aluminum pans? Thanks
I think you can use any pan. I don’t know how well they’d pop out of a tin though. Also, I’m not sure if your pan is food safe afterwards so keep that in mind when picking a pan.
Ok thanks for the tip! =)
That’s an interesting project to do with little ones!! We can put those broken crayons to good use…have lots of them. I didn’t know what to do with those…have saved those pieces though:). Nice Idea!!
I showed these to my son and he asked me to make them for him! It is a great way to use up the broken crayons. Thanks for the great idea!
What a fun idea for the kids! I could definitely see doing this for so many different special occasions too! Thank you for the tutorial!!
I make these every year for my students and they love them. This year, I added a drop of cinnamon oil to each one during baking (about halfway through) and it took away some of the waxy smell. I package these in small cello bags and tie with pretty ribbon. When you open the bag, you smell Christmas!
Thanks for giving the time and temp. There are so many conflicting instructions floating around. I just did some for 10 minutes at 350. The bottoms looked fine, but the colors were all melted together on top. The kids liked them anyhow, but I’ll follow your instructions next time. Crayons are supposed to be non-toxic, so I would think the pan should still be food safe.
Hi Jennifer, I just wanted to post for anyone reading and thinking about doing this, your tutorial is perfect. You’re so right, it seems easy but if I didn’t have the temperatures or times I would be lost, your tutorial was perfect. I specifically bought a silicone mold from Dollarama(Canada) (it came with cute trees and gingerbread people) to do this just instead of using Wilton ones I already had, and used what was left of a 64 Crayola pack. My crayons turned out perfectly! Love your website.
I can’t wait to try this with my Kindergarten class. A great recycle project. No waste.