It’s Christmas eve! Ack! Do you know I just started all my wrapping yesterday and I’m still nowhere near done! I’ll be up super late tonight getting everything all done! Like always I wanted to continue my tradition of making all my own gift tags for all the presents! Since it’s so late in the game I really needed them to be something simple and something I could make with basic craft supplies I already had on hand.
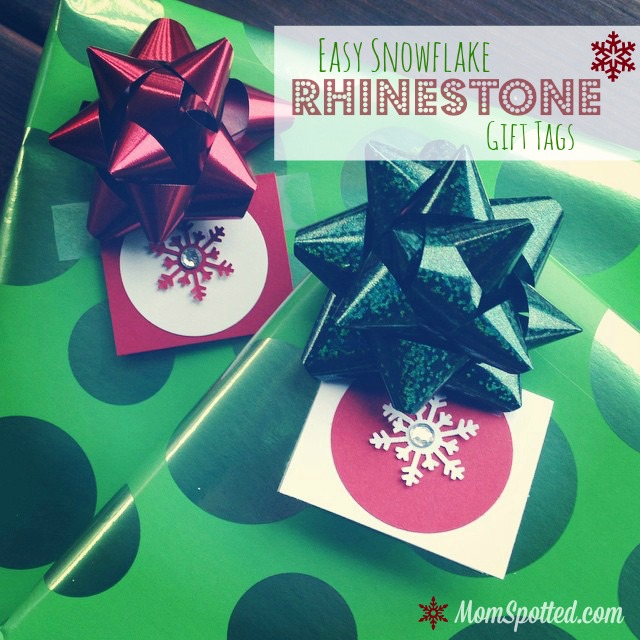
Supplies Needed:
- Card stock (two colors)
- Snowflake Paper Punch
- 2″ Circle Punch
- Mini Glue Dots
- Small rhinestones (about the size of a pencil eraser)
- Adhesive

First cut long strips of card stock at 2.5 inches wide. Then cut them about 4.25-4.5 long. Fold in half. Use bone folder if you have one to give it a nice crisp fold. Make the amount you need all at once.
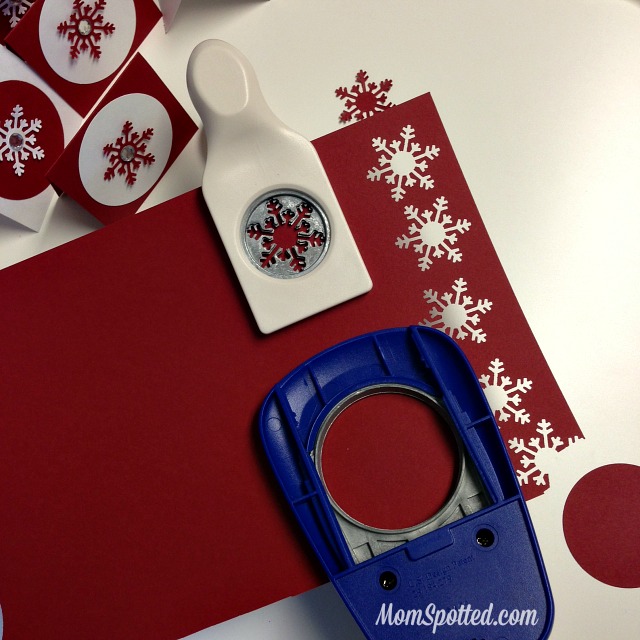
Take your punches and make one circle and one snowflake for every gift tag. Make sure to do half in each color so you can alternate easily. Then adhere the circles to the fronts of the gift tags, centered. I used my Xyron Sticker Maker to adhere all my circles. I love mine and actually have several of them in different sizes. My kids think these are SO fun to use! If you don’t have one and you like to craft I recommend adding one!

Next, add a mini glue dot to the back of the center of the snowflake and then add to center of circle. Then add another mini glue dot to the center of your rhinestone and add the rhinestone to the center of the snowflake. Repeat the process until all your gift cards are made.
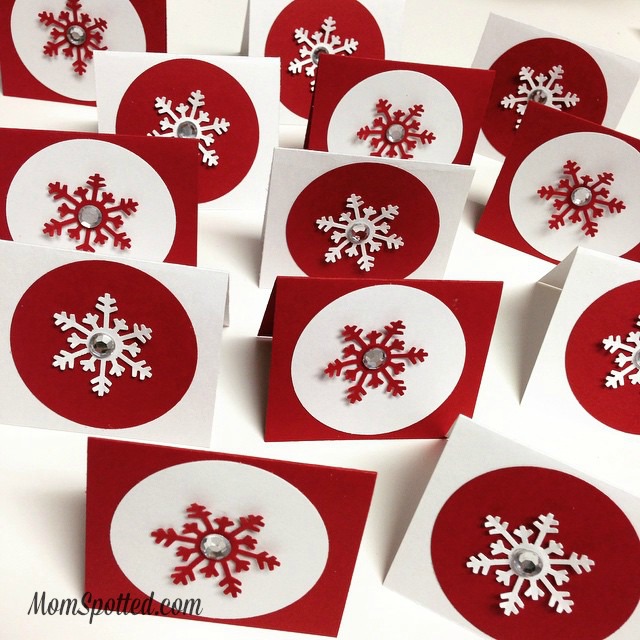
I really like to make sure I alternate colors so the gift tags really pop off the paper and depending on my paper choices I know I have more than one option to match up.
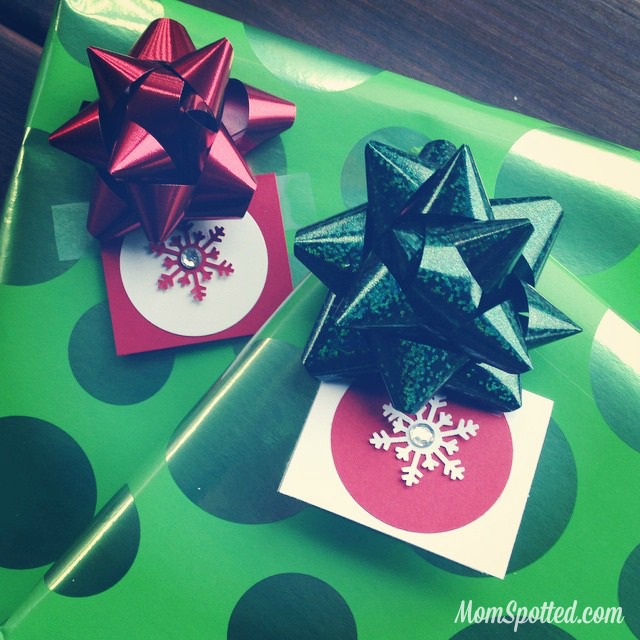

I love adding a little handmade touch to all of my gifts. I’m big on wrapping every single present so I want to make sure all those hours wrapping amount to the best presentation possible.
Do you make your own gift tags?
Every Monday we want you to come and link up your latest craft you made with your kids and share here! Now head on over and check out Being MVP’s awesome Cereal Snack Tassel Necklace.
This preview will disappear when the widget is displayed on your site.
If this widget does not appear, click here to display it.


These tags are lovely! I usually use the fronts of Chritmas cards from previous years. I’m going to try these with my tag shaped paper punch. Thanks for the great idea!
The homemade tags and gift decorations are always so special. These are wonderful, love the addition of the sparklies!
these look great and would be great to add to any present. i don’t have a lot of craft supplies at home but this would be fun do to and could be made for any occasion.
How creative and the gift tags are as nice as the gift tags you buy at the store. I really need to invest in a Xyron Sticker Maker so I can make my own gift tags next year.
I love these so much more then store bought tags, great craft to make the gifts much more personal and fun.
These are fabulous, I can see them in shades of blue and white too. Much better than store bought tags. I’m pinning this for next year. Thanks for sharing.
These are so cute. I guess I will have to wait until next year to try this. Thank you for sharing
Those are really pretty! This year I made mine to. I bought tiny black canvas boards, wrote the kid’s names on them in cursive with chalkboard markers. Then I added white shimmery buttons, and other things to make little snowmen.
Those are so pretty! I wish I would have seen them before Christmas.
I’ll have to bookmark this for next Christmas.
I love these! These look better than the store bought ones.