This post is sponsored by Ace Hardware. All thoughts and opinions are my own and do not necessarily reflect those of Ace Hardware.
Transforming my home this year has been so much fun. When we moved in almost 10 years ago, we were moving back in after rebuilding from a fire. We had been displaced for a year and when we saw a chance to move in we jumped at it- before painting. Needless to say, we never finished. We’ve been living with very little color and patch marks all over the place. We recently painted our living room (which I’ll be sharing more about next month), and it really complemented our new couch. I purchased a few new items for my walls, and my living room is now an inviting place for my family and entertaining. Well, except we needed an end table DIY remodel!
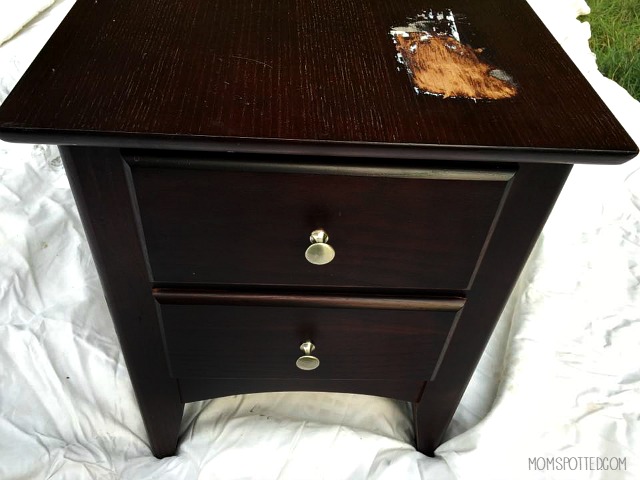
We purchased our end tables years ago, and they’ve seen better days. Between drink marks, safety corners being removed, and just rough play, they looked awful. When I heard about the Amy Howard At Home ® One Step Paint™, I was so intrigued. I had never used a chalk-based paint before, and I knew little about it. I went onto YouTube and found Amy Howard’s channel and watched a few of her tutorials.
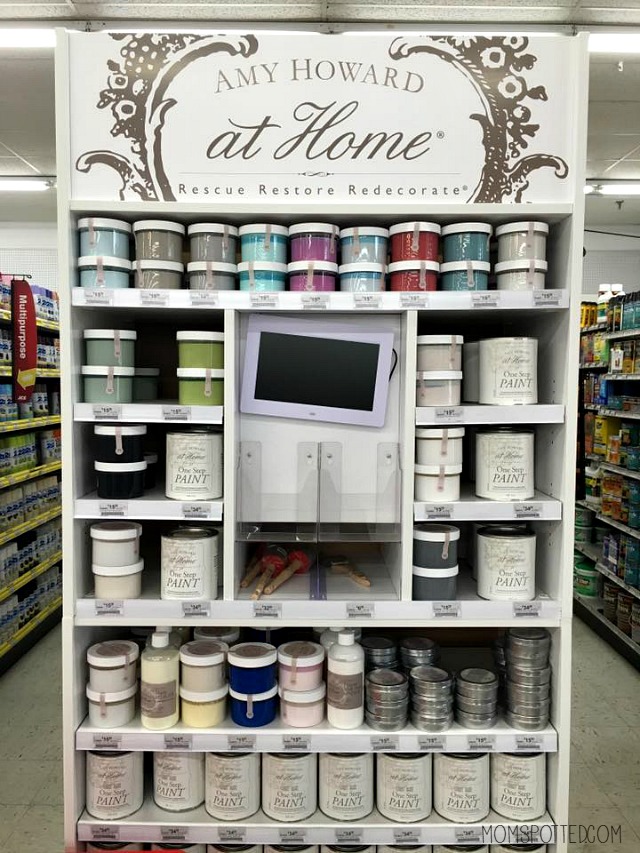
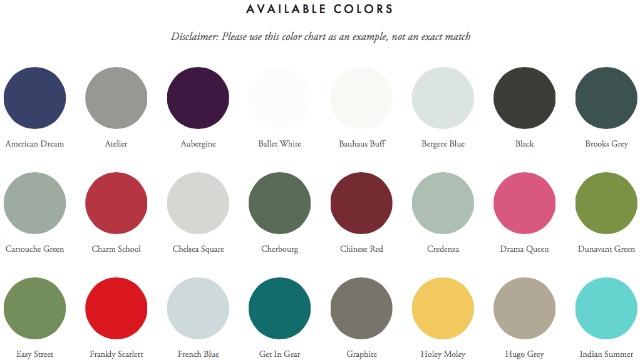
I stopped by my local Ace Hardware store and picked up everything I’d need for my end table DIY. For the first part, you’ll need a 2.5″ flat paintbrush and a sample pot of Amy Howard At Home® One Step Paint™. I chose the color Selznick Grey, but there are many different options. I took my chances and there was just enough. If you’re working with more than one piece or something larger, I’d definitely recommend getting the quart. My husband was pretty insistent that I would need more than the sample pod, but this paint went a long way.
One step furniture paint. No stripping, no sanding, no priming. Transform your furniture or cabinetry in one step! Amy Howard At Home® One Step Paint™ is a water-based paint that adheres to most any surface. Apply paint directly to old wood finishes, concrete, iron, stone, Formica, etc. It dries flat, to the chalky finish that we covet on antique pieces found at the Paris Flea Market or our favorite boutique antique shops.
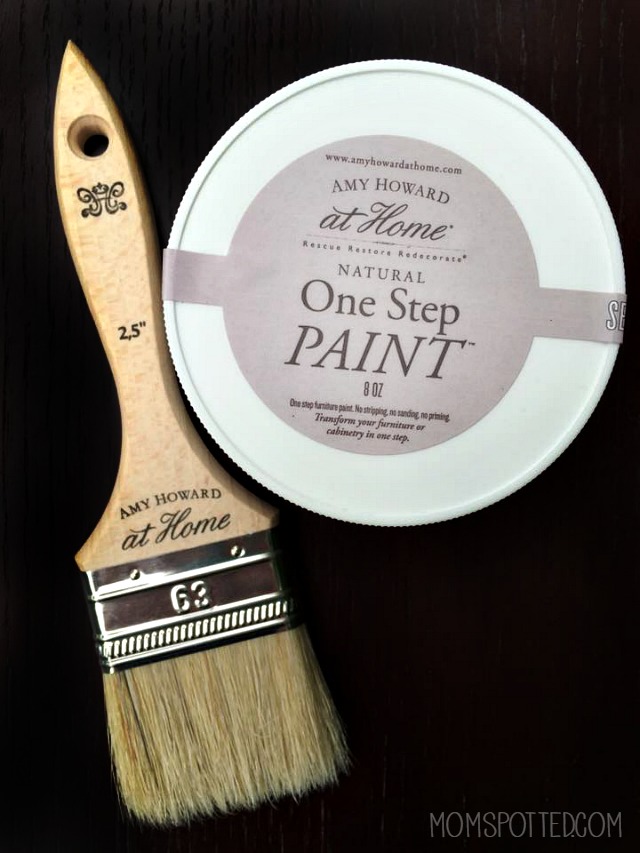
To start, I flipped my piece over and just started painting. This paint is great because there is no stripping, no sanding, no priming. My end table did have damage to the top, and I do wish I had sanded the top first just to hide the blemishes. If your piece of furniture or cabinetry isn’t damaged, then it’s not necessary.
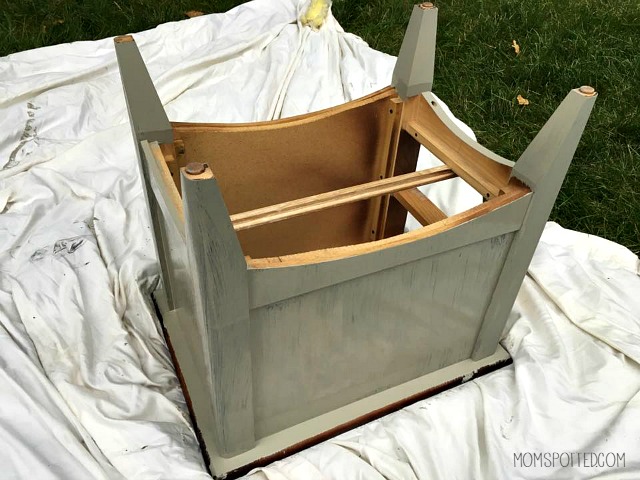
As my first coat began to dry, I was noticing how streaky it was. The instructions recommend two coats, so I just kept going. Remember not to over brush areas or you will cause streaking that becomes hard to correct. If you find this happening, just stop painting and try to fix the area with the next coat. You’ll need to wait about 30 minutes for it to dry longer if it’s really humid where you live.
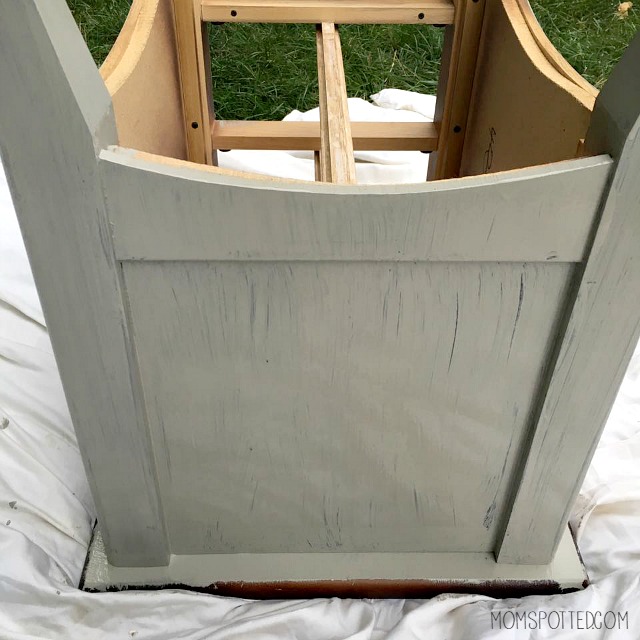
You can see there is a big difference in the look from one to two coats.
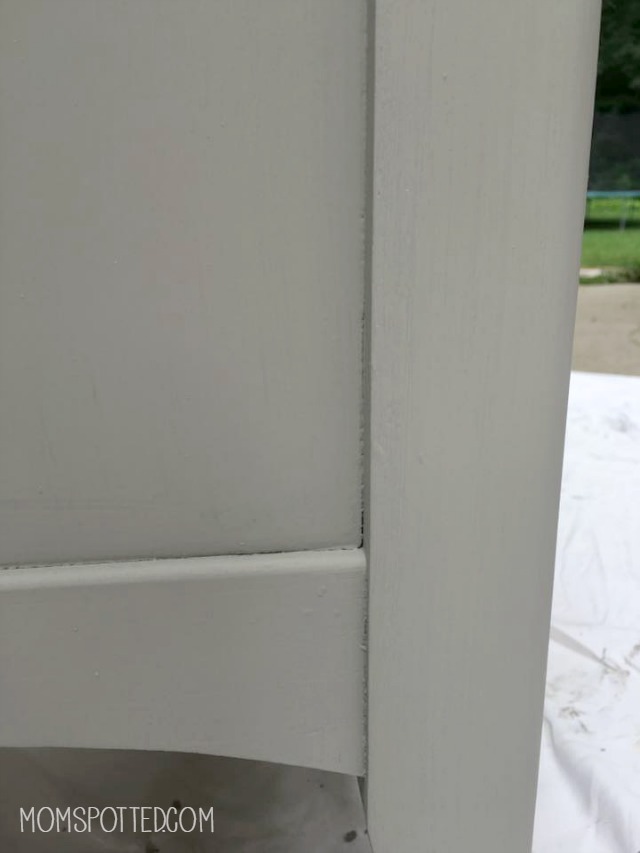
Let your paint completely dry; it will have a flat finish to it.
The other items in my living room have a slight shine to them, so I wanted to give my end table one too. To get this look, you can use the Amy Howard At Home® Clear Wax™ and a 2″ round hog-hair paintbrush.
The Amy Howard at Home® Clear Wax™ retains the natural color and beauty of wood. Ideal for cleaning and polishing wood surfaces, Clear Wax will not alter your paint color. It simply seals, protects, and enriches.
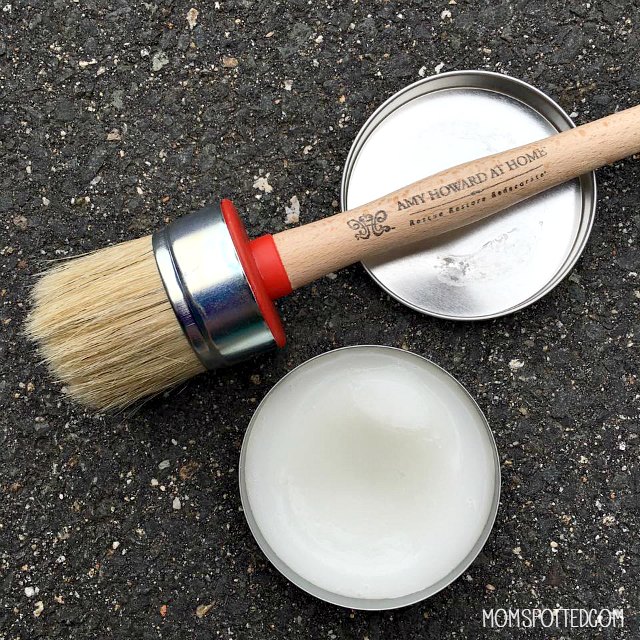
Apply a minimal coating and let it sit for one hour. Use a lint-free cloth to buff out the extra wax.
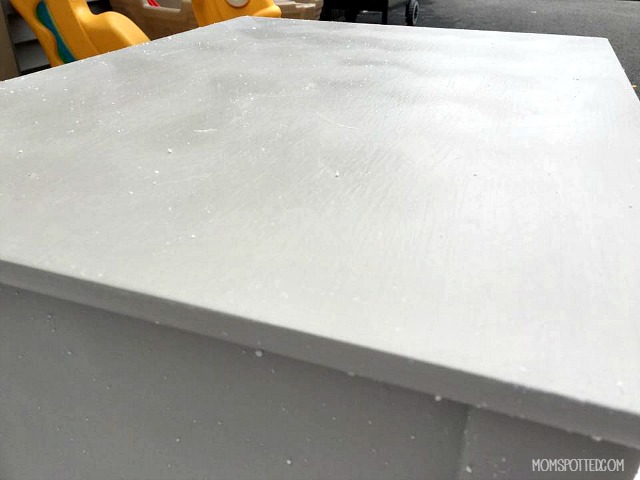
This wax isn’t like car wax where it turns it super shiny. The paint dries flat, so the clear wax just gives it a subtle glow. It simply seals, protects, and enriches the One Step Paint™.
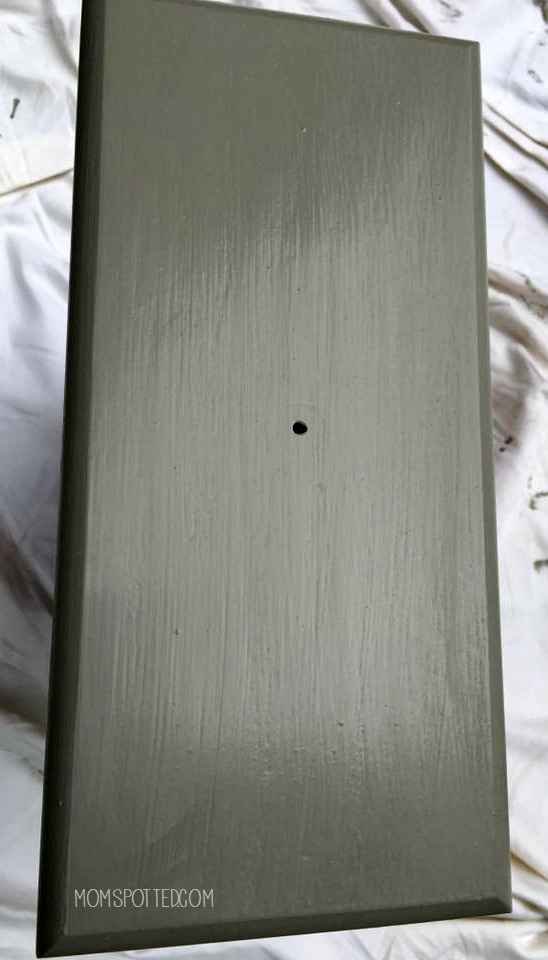
I didn’t like the way the old knobs looked, so I went out and bought new hardware.
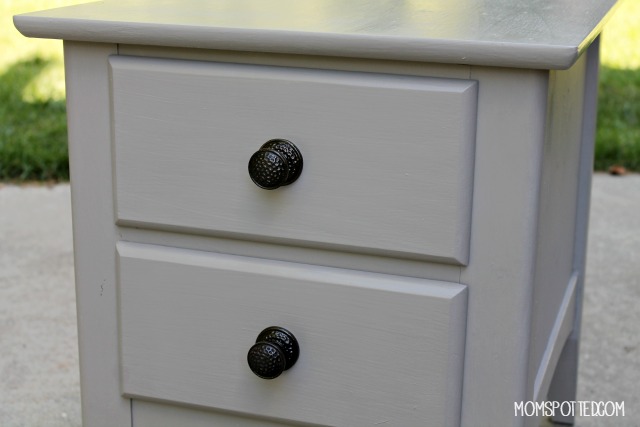
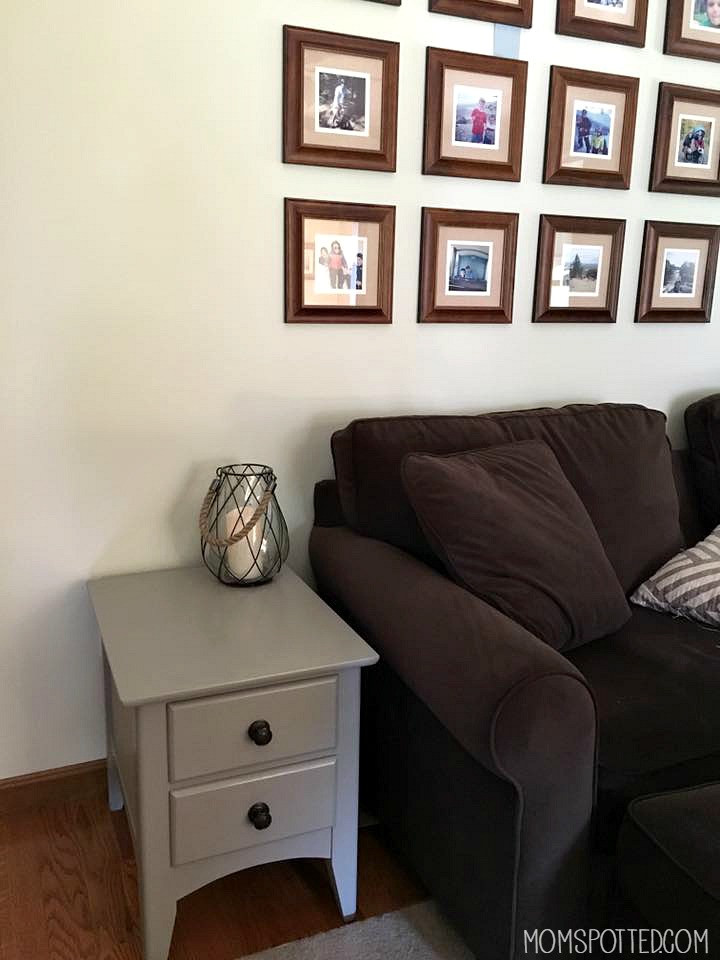
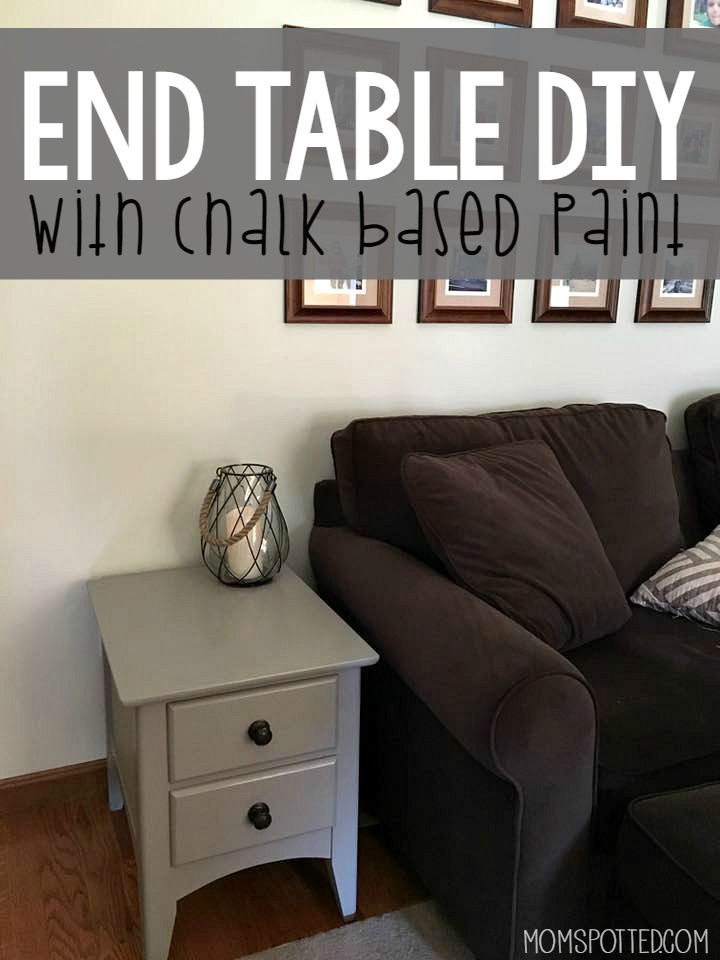
Didn’t my end table DIY come out great? Before, the end table just faded into the couch. Except for that huge water stain that was on top. That always stuck out like a sore thumb. Now my end table looks fabulous and really adds to the decor of the rest of the room I’ve worked so hard to create.
Until the next update, check out my Ace Hardware Style Inspiration Board or check my past posts showcasing more Ace-assisted décor transformations!
Dreamy Bedroom Makeover on a Dime with Amy Howard and Ace Hardware – Free online workshop, Aug. 11 at 12pm CT Join Amy Howard and Ace Hardware for a live online workshop on Thursday, Aug. 11, from 12-1pm CT.
Amy Howard shows you how to makeover your master bedroom with DIY projects that are simple to do and easy on the budget, but offer dramatic results! Transform your bedroom into a sweet retreat by learning how to rescue an old headboard, refresh a salvaged nightstand with antique mirroring, and create stunning decorative prints. Amy will be demonstrating how to use her One-Step Paint, Mirror Antiquing Kit, Copy Cat, and more! Register for free now!


![ThePaintStudio_AtAceStacked_Gray[6][1][2][2][1][1][1] (1)](https://momspotted.com/wp-content/uploads/2016/04/ThePaintStudio_AtAceStacked_Gray6122111-1.png)


Looks great! I really love the color!
What a big difference! I am definitely going to use chalk paint if it’s that easy!
I really loved how this turned out! I should definitely try out this chalk paint. I can already think of a few projects, including an old bookcase.
Nice work, we do a lot of these and it is a great way to create unique looks and repurpose things. I have also been able to find things at Ace Hardware that the other competitors don’t have.
This really looks good! I love all the colors available in Amy Howard paints. 🙂
That came out very well. I have an end table that could use this.
i too love that color,,you did a awesome job,,ive got a couple of projects coming up
I love the idea that you don’t have to strip the paint from before. Definitely a plus in my book. Great that it dries quickly. I had never heard of chalk paint unless it was literally being used to make chalkboard crafts.
It turned out great! I need to remodel some things at our house. My boys just got new “used” desks. It’s a start.
I love the table. that color is one of my favorites and goes well with so many other colors
I need to redo my bedside table with this.
I would love to paint my home office desk easy street green!
I’d like a light blue for my end table.
So happy you see the positive in life and enjoy the little things. As for the painting job itself, that table looks brand new! Great job Jennifer! I’m showing this to my niece and you probably just got a new fan, keep up the good work.
-Jimmy
I love the color choices, and the wax seal is something I haven’t seen before. It’s a great idea!
I’ve never really tried a DIY project like this before. Wow what a difference! The end result looks amazing!
It came out soo cute! I’ve seen some Amy Howard on the internet, so I went flying down to my local Ace Hardware to check out paint colors. They don’t carry it at that store, and never heard of it! I still want to use it, and now I love the wax finish, too.
I love this idea, I have a old night stand that I wanted to turn into a little end table and this is exactly what I was looking for, very pretty and thanks for the tip
Wow that’s really amazing! I am in love with those color choices. Going to try this out!
This is a great idea. I have never heard of this chalk paint before. Your table turned out great. I will have to check this out. Thank you for sharing